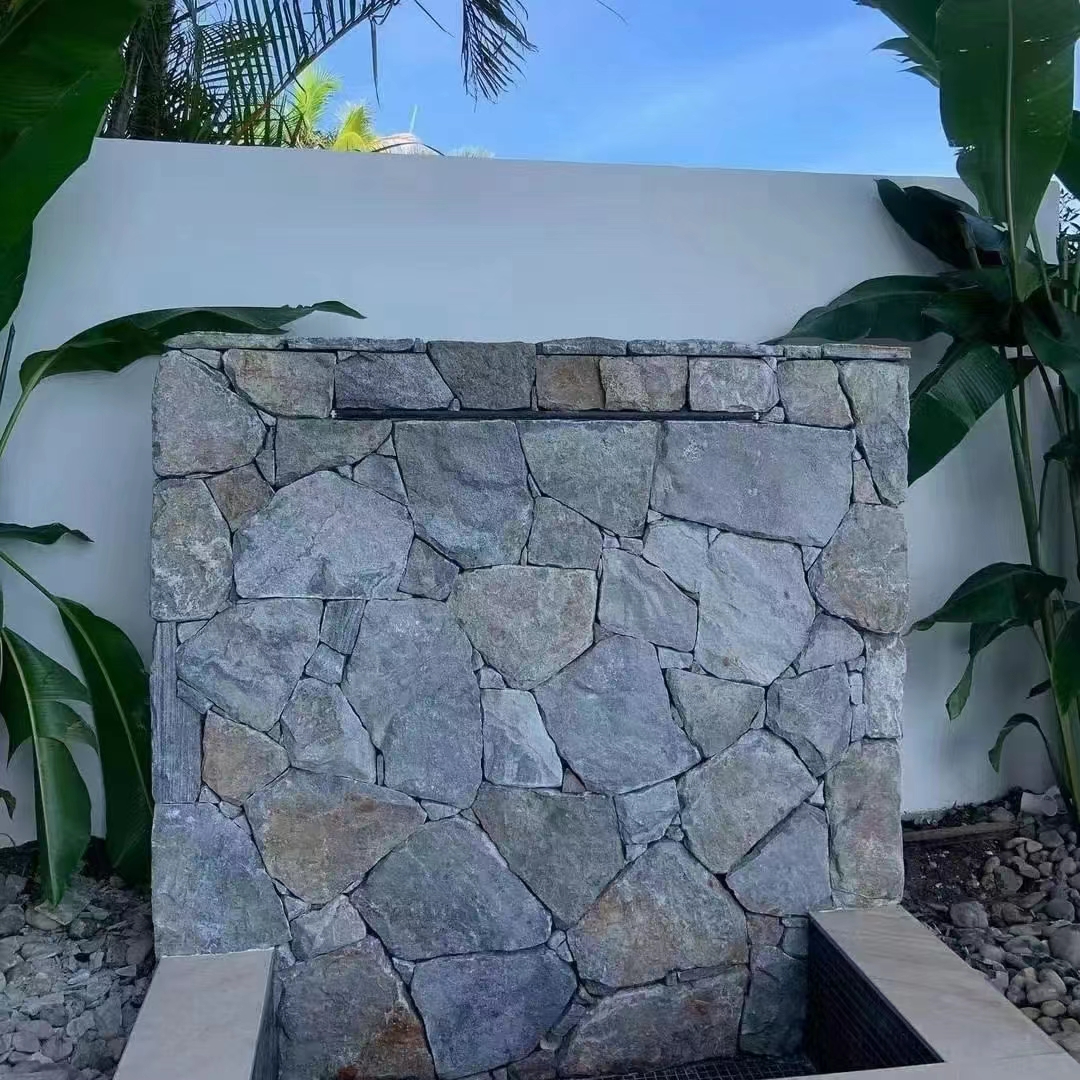
Pavers, or paving stones, are flat units of brick, stone, or concrete, that fit together in a tight pattern to form a structure, such as a driveway, patio, or walkway. Pavers are a popular choice of materials for DIY landscaping home improvements because they can be purchased affordably at many home improvement stores, and laid down in a relatively simple fashion. When you’re laying pavers, it’s important to measure and prep your area precisely, to make sure that your end product is aesthetically pleasing and functional.
3 Types of Pavers
There are three main types of pavers that are used in construction projects, which include:
- 1. Natural stone pavers: Almost any natural stone can be used to pave anything from driveways, to patios, to stone walkways. Some popular examples of natural stone used in paving include travertine, granite, slate, basalt, and cobblestone.
- 2. Brick: Brick pavers are made from clay and have been used as paving material for thousands of years. They’re durable enough to withstand the weight of cars, so if you’re looking to pave a driveway, brick may be a great option.
- 3. Concrete: Concrete pavers are a cost-effective paving option. Concrete pavers are also easy to stain with different colors, allowing you to customize the look of your pavers to fit with your landscaping.
Irregular stones

How to Prepare the Ground for Pavers
Follow this step-by-step guide to prepare the ground where you will lay your pavers:
- 1. Choose and measure your worksite. Use a tape measure to plot out the area that you plan to pave. Outline the area you will be paving with white paint or stakes. Make note of the square footage of your work area, which will help you calculate how many pavers you will need.
- 2. Gauge your slope. You will want your pavers to be very slightly sloped to avoid water pooling on the pavers. Use stakes and string to mark the height of the highest and lowest edges of the paving area to gauge the direction of your slope.
- 3. Excavate your paving area. Use a spade or shovel to dig into the soil and clear the grass from your paving area. Use a tape measure or ruler to measure the depth and slope of your evacuated area. You want your area to be deep enough to accommodate six inches of gravel, one inch of sand, and the depth of your pavers.
How to Lay Pavers
To lay your pavers, follow these simple steps.
- 1. Build your paver base. Fill your excavated area with at least a six-inch layer of gravel or crushed stone. Use a landscape rake to evenly spread the base material in your paving area. Wet the base material using a garden hose, then run a plate compactor across the layer of stone or gravel, which will compact the material into a firm and even base layer.
- 2. Create a sand bed on top of your base. Add a layer of paver sand to your paver base. Use a wooden board to smooth out the layer of sand, creating a level surface.
- 3. Lay your pavers, and cut pavers when necessary. Begin to install paver stones in your desired formation. To fill any gaps left along the side, cut your paver stones with a masonry saw or circular saw. Make sure to wear protective equipment like gloves and safety glasses while cutting your pavers.
- 4. Add your edge restraints. Use concrete, mortar, or plastic paver edging to secure a straight edge for your pavers and separate them from the soil.
- 5. Tamp down your pavers. Secure the pavers into the sand bed using your plate compactor. After you’re done, you should have an even surface.
- 6. Fill the area between your pavers with polymeric sand. Once the pavers are laid, add a layer of polymeric sand to the pavers to fill in the gaps between your pavers. Sweep any excess sand off the entire area.
- 7. Seal your pavers. Add a paver sealant to your pavers once you’re done filling the gaps with sand, which will further secure them in place and prevent them from slipping.
