What You'll Need
Equipment / Tools
- Line chalk
- Notched trowel
- Tape measure
- T square
- 2x4 wood piece
- Rubber mallet
- Grout float
- Foam brush
- Work gloves
- Wet saw
- Goggles
- Drill
- Needlenose pliers
- Utility knife
- Sponge
- Carpet remnant
- Damp rags
- Old coffee can (or similar vessel)
- 2 Plastic buckets
Materials
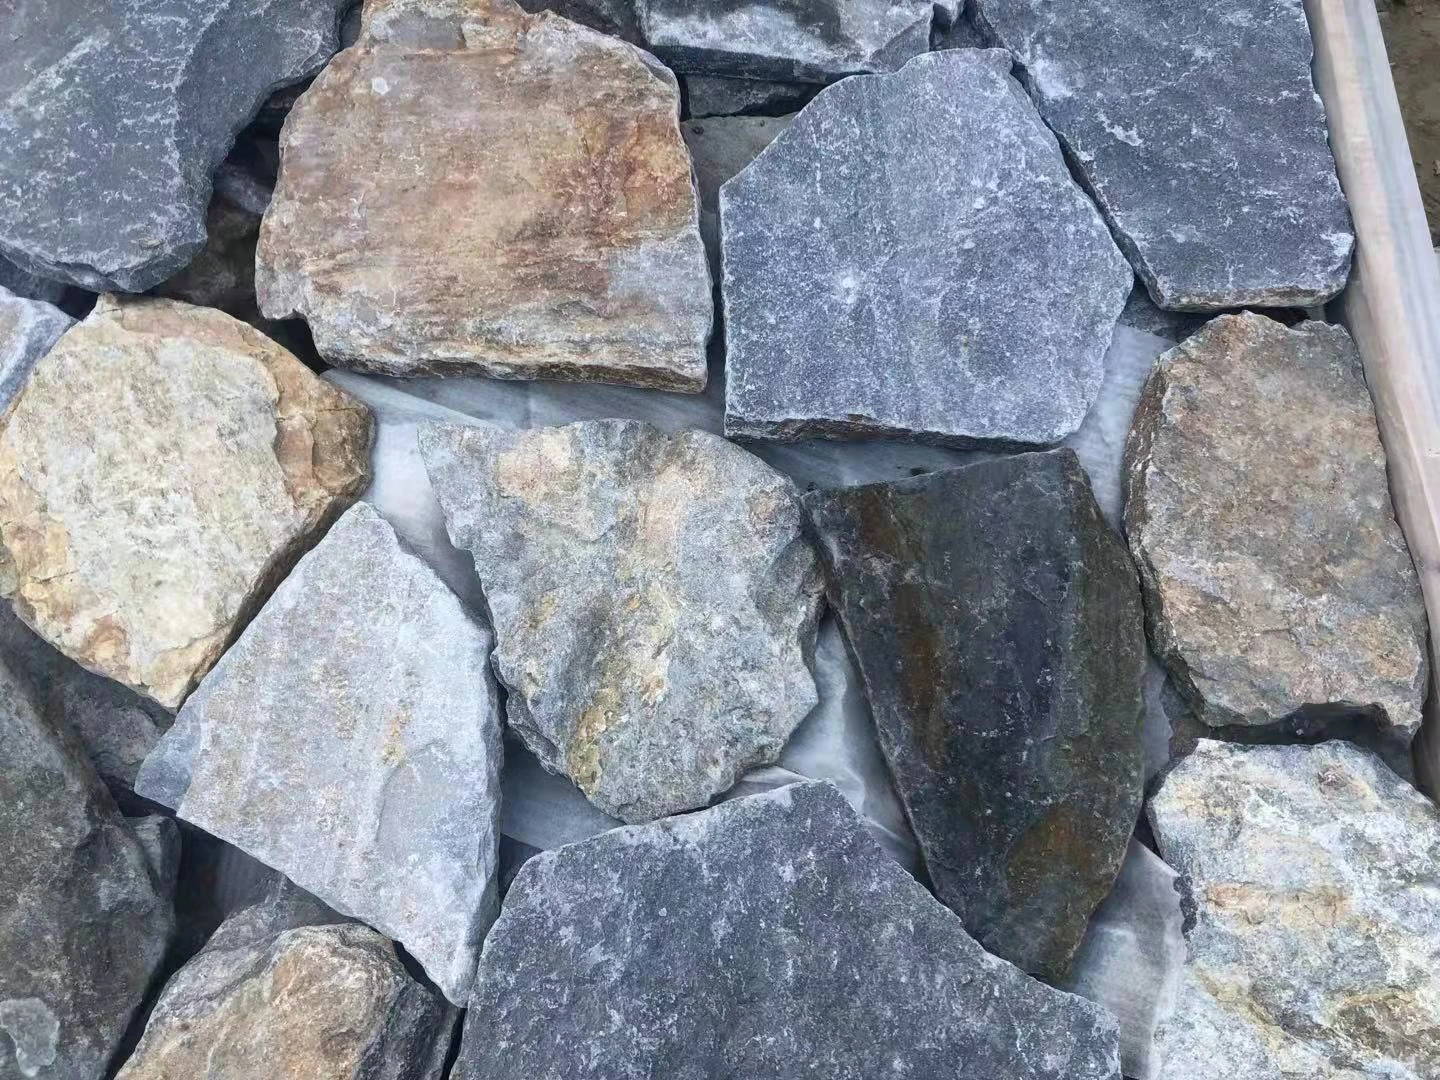
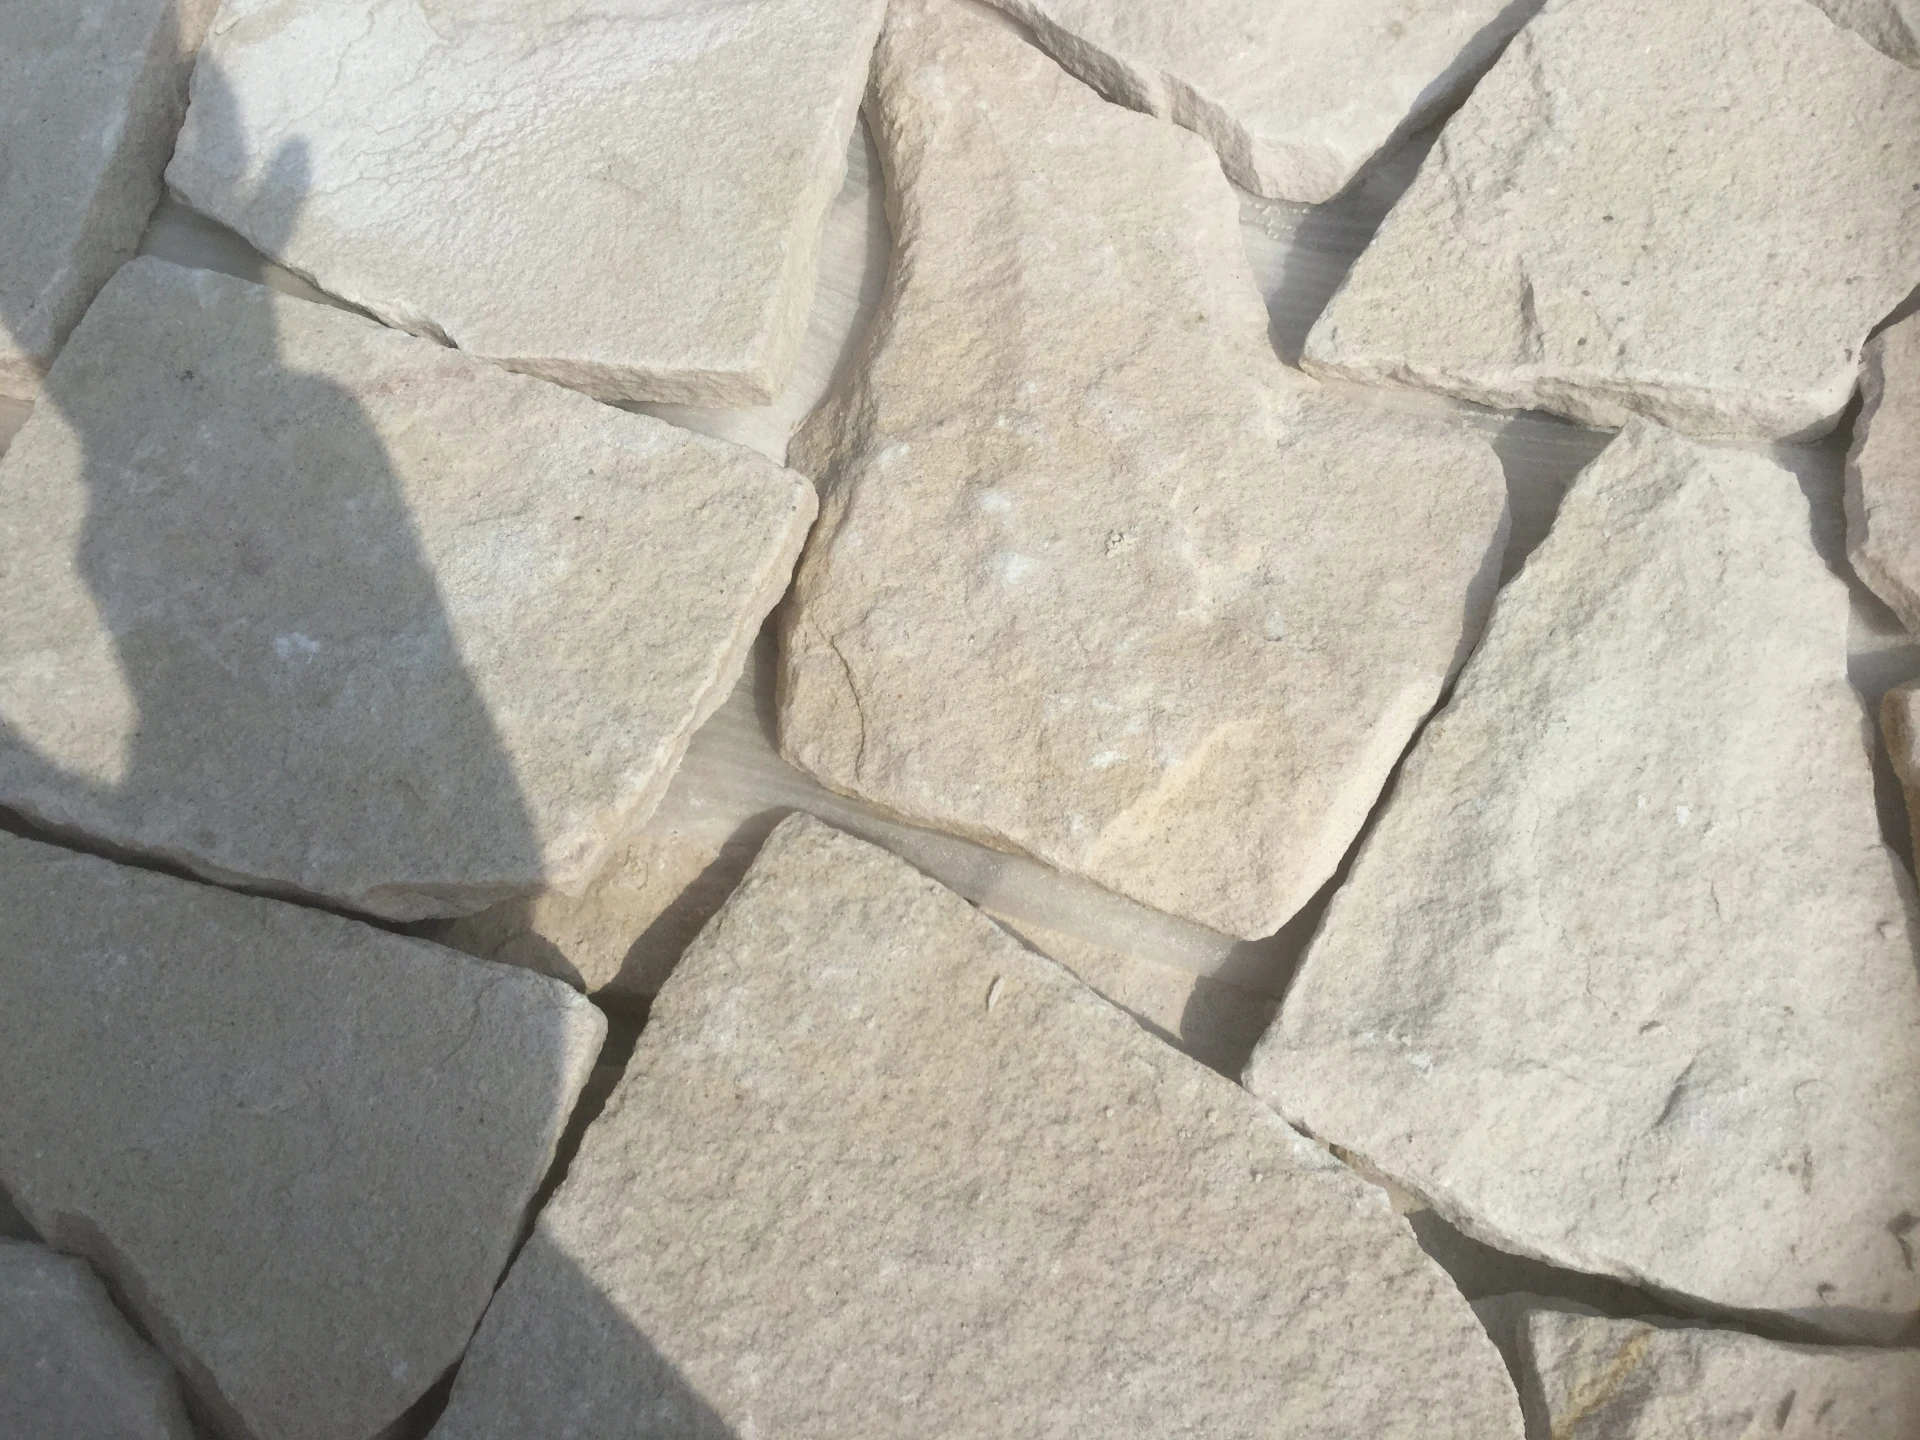
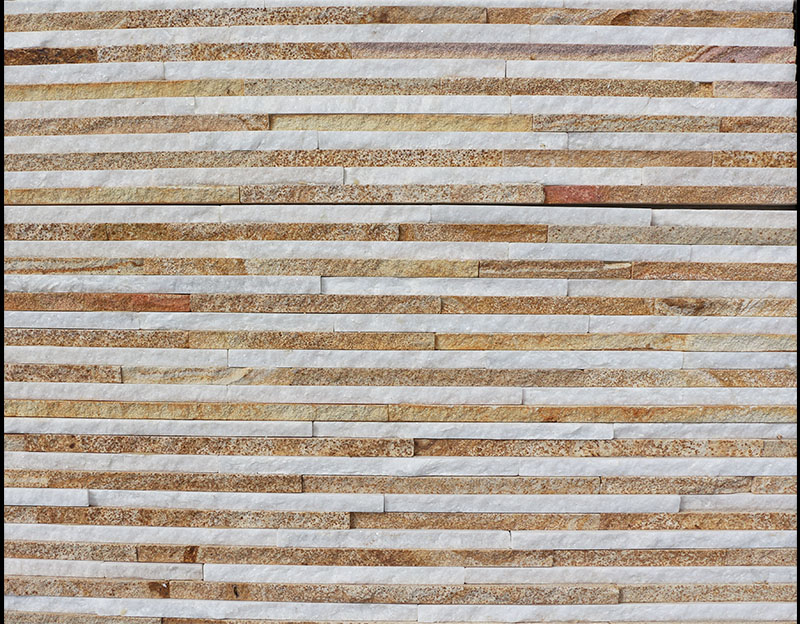
- Slate tile
- Cement board
- 1 1/4 inch cement board screws
- Mortar
- Tile spacers
- Stone sealant (above-surface and below-surface)
- Grout
Instructions
:max_bytes(150000):strip_icc():format(webp)/SPR-installing-slate-tile-1314981-tools_53393-8add197f5da64938bf3788aa8b4b556c.jpg)
How to Install Slate Tiles
-
Prepare the Subfloor
Cement board sheets installed over the subfloor provide a layer of protection for lower surfaces. These waterproof materials will also prevent moisture from seeping down between tiles, causing damage to lower portions of the structure.
The cement board sheets should be placed side by side, running from one end of the room to the other. A shop knife can be used to cut smaller pieces to fill uneven spaces reaching to adjacent walls. Secure the pieces to the plywood using 1 1/4-inch screws spaced evenly down the lines between individual pieces. If installing over concrete, a thin-set mortar can be spread evenly to create adhesion.
As you work, leave 1/8-inch gaps in between the individual sheets, and 1/4-inch gaps between the cement board pieces and the walls, to account for expansion during warmer weather periods.
:max_bytes(150000):strip_icc():format(webp)/SPR-installing-slate-tile-1314981-step-01_53511-fb4e3700ae7f47039956e4fa897a9f9b.jpg)
-
Establish Reference Lines
To get reference lines, use a tape measure, find the exact center of the longest wall in the room. This can be marked near the floor using a shop pencil. Then go to the adjacent wall and do the same. Then, with the two marks as your guide, snap a chalk line between them, creating a temporary path that should completely bisect the room.
Repeat this process with the other two adjacent walls in the room, measuring to the exact center of each, and then creating a line chalk snap between them. This should divide the space into 4 even quadrants with a cross in the exact center.
To make sure that the two lines are perfectly perpendicular, you can use a T square to measure the angle. Alternatively, you can use the 3, 4, 5 method: To do this, measure the two lines to 3 inches and 4 inches out from the middle, then make sure the third line measures 5 inches in length.
:max_bytes(150000):strip_icc():format(webp)/SPR-installing-slate-tile-1314981-step-03-86f9d4302f2b486ca2a011d124636454.jpg)
-
Lay Out Tiles in a Dry Run
Slate is a unique material, and it can sometimes be tricky. This is especially true when using multi-color options. Before you go any further, it will be useful to lay out the tiles in the room and arrange them so that the colors and patterns that emerge all work together to create an attractive whole. This gives you the chance to fit everything together like a master puzzle before committing to a look with mortar and adhesive.
When you are satisfied, stack the tiles up in distinct piles that will maintain the order in which they were laid. Stack them face to face and back to back, doing your best to avoid any scratches that can come from them rubbing against one another.
:max_bytes(150000):strip_icc():format(webp)/SPR-installing-slate-tile-1314981-step-04-bbc307d51ac14b8ca282213c4a63ace1.jpg)
-
Spread the Mortar
When you’re ready to begin, mix the mortar in a plastic bucket, using the water to material proportions as stated on the manufacturer’s packaging. A wooden paint stick can be used to stir the ingredients until they have a consistent feel. Be careful not to mix more than you will need for about 20-30 minutes' worth of work, as too much mortar can start to dry out and harden before you get a chance to use it.
Using the flat end of the notched trowel, scoop some of the mortar up and begin spreading it onto the cement board, starting at the center of the cross point chalk line you created, and moving out across a single quadrant. Only apply enough to cover a little more than what a single tile will need.
Then run the notched edge of the trowel through the mix to make grooves, which will create a more powerful hold when the slate tile is put in place.
:max_bytes(150000):strip_icc():format(webp)/SPR-installing-slate-tile-1314981-step-02_53518-b5cc3b633e244a67a0922c6d584470a6.jpg)
-
Set the Tiles
Once you have enough mortar spread, take the first tile and place it firmly into the adhesive bed. The corner of this first tile should line up with two of the chalk lines at the center of the first quadrant that you divided the room into.
Use enough force that you collapse the notched lines you created earlier, but not so much that you drop down to the cement board below. Twist the tile slightly to give it a firmer grip. You can also lightly tap the piece with a rubber mallet if you feel that more pressure is needed.
Be careful not to get any of the mortar on the surface of the piece. If you do, wipe it away immediately with a damp cloth.
:max_bytes(150000):strip_icc():format(webp)/SPR-installing-slate-tile-1314981-step-05_53519-f46e929155d140c08369bd001c8a2d93.jpg)
-
Insert Tile Spacers
Once a piece is in place, put tile spacers around all four corners. This will create consistent gaps between the tiles, which will later turn into straight and even grout lines.
Spread more mortar, trailing down the line of chalk, and place a second tile next to the first. Surround the open edges of this piece with more tile spacers. This process continues in a straight row until you reach the far wall.
:max_bytes(150000):strip_icc():format(webp)/SPR-installing-slate-tile-1314981-step-06_53522-0bcb69de003c4a38829524f70c4b472f.jpg)
-
Level the Tiles
Once you have three or more tiles placed, you can even them dimensionally by laying a piece of 2 x 4 wood, covered in a carpet remnant, across their surface. Tap this lightly with a rubber mallet to ensure that no piece is any higher than another.
If you are using a particularly dimensional slate with lots of peaks and gaps, you may want to avoid this step. The irregularities in the material may lead to inconsistencies in height. In that case, do your best to eyeball the relative depth of each piece.
:max_bytes(150000):strip_icc():format(webp)/SPR-installing-slate-tile-1314981-step-07_53523-9591f7f315a943c38db6dfe3223978c5.jpg)
-
Cut Edge and Corner Tiles
Once the first row of slate tiles reaches the wall, you will often end up with a gap. Measure the distance from the tile spacer on the last piece to the end of the room. Then employ a wet saw to cut a tile down to the dimensions necessary to fill that area in. Place the specially sized piece into the space to complete your first line.
This entire process can be repeated, starting at the first tile placed, with a second being installed into mortar right next to it. Continue using tile spacers to ensure even grout lines, and work your way down with the first row acting as a guide.
:max_bytes(150000):strip_icc():format(webp)/SPR-installing-slate-tile-1314981-step-08_53526-52ed7eeacb3d4625996881ef3ea7cfba.jpg)
WARNING
Be very careful when using a wet saw. Always wear eye protection and consider wearing earplugs to protect yourself from the loud sounds that these machines can make.
-
Remove the Spacers and Excess Mortar
Once you have the first quadrant complete, use a pair of needlenose pliers to pull the spacers up out from between the tiles so that they don’t end up getting into the mortar as it dries. If any adhesive seeped up into the spaces between individual pieces, employ a shop knife to remove it.
Move on to the next quadrant, laying your first tile in the center space bordered by two lines of the chalk cross that you created. Continue to place spacers between individual pieces, and work in rows following the already installed slate as a guide to ensure that everything comes out straight, even, and consistent. Don't forget to level the pieces with every third tile.
-
Allow the Mortar to Dry
Once your tiles are set, give the mortar adhesive at least 40 hours to dry. Keeping the space well ventilated with fans and open windows can help to speed up this process. In some cases, the manufacturer’s packaging will indicate that it requires a longer period to fully set. Always follow their instructions, and do not allow anyone to step on the floor until it has hardened into a solid installation.
-
Seal the Tile
Slate is a naturally porous material that requires a good sealant. Once the mortar has dried, wipe away any excess that may have gotten on the surface. Then seal the entire installation to clog the pores and create an invisible protective barrier.
First apply a below-surface sealing agent, which will go down into the tiny holes in the stone and clog them. This can be poured into an old coffee can and spread across the tiles with a small foam brush, using very thin, even strokes. Do not allow it to bubble up or accumulate into puddles. If this occurs, then use a dry foam brush to smooth the puddles out.
Allow this to dry for a few minutes, and then apply a coat of above-surface sealant. This will create an invisible but powerful barrier over the top of the stone, giving it further protection.
Give the sealant about one to two hours to fully dry and set into the stone before proceeding to the next step.
-
Lay the Grout
Mix a small amount of grout in a plastic bucket, following the water to material proportions as stated in the manufacturer's packaging and instructions. You want to make sure that the mix has a nice consistency that isn’t too soupy or too thick.
Scoop a small amount of the grout up using your grout float, and then apply it directly to the line gaps that you created with the spacers in between the tiles. Start at one of the far walls and work your way down each line, holding the float at a 60-degree angle, gently pushing as much of the material into the gaps as possible.
-
Remove Excess Grout
Use a large sponge, damp but not saturated, and run it along the surface of the slate floor to wipe away any excess grout that may have accumulated. Make sure not to get the installation too wet, as excess moisture can seep into the grout in the gaps, creating a muddy mess.
Allow the grout a solid four hours to completely dry. Then repeat the process with a clean sponge, wiping any haze that might be left behind from your work. A soft cloth can help with the cleansing process, while also wiping up excess liquids that can accumulate.
-
Seal the Grout Lines
Once the grout has had a chance to dry and is hard to the touch, it needs to be sealed to protect it from stains and water penetration. A below-surface sealant should be poured into a can and then spread along the lines using a clean foam brush. Work methodically down each portion of the floor so that you don’t miss anything. Be careful not to apply too much sealant as that can cause the grout to become muddy again.
Apply a second coat if desired. This will better protect the tiles against future damage.
Wait an hour or two before walking on your new slate floor.


