
A few weeks ago my friend Ani posted some pictures of their “weekend project” on Facebook, sharing how they had recently made over their fireplace wall using Air Stone. I was SO impressed! I texted her immediately and begged to let us feature their project here on the blog. She kindly not only agreed but also sent me more pictures and all the details of how they actually did the project, isn’t she sweet? 🙂
Ani is one of those people you meet and are instantly impressed, she is funny, smart and she has the most awesome house too! I miss having her just down the block but I am selfishly grateful she is showing us more of what she has been up to here. You can see her DIY growth chart in this post HERE and I’ll sneak in a few more cute pictures of her house at the end of this post, but for now here is her awesome fireplace makeover in her own words:
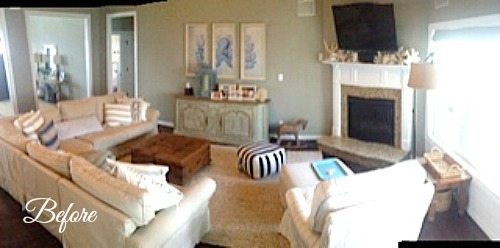
But first, here is a shot with the “before” of her builder-grade fireplace: {I know just look at her cute decor!}
 ,
,
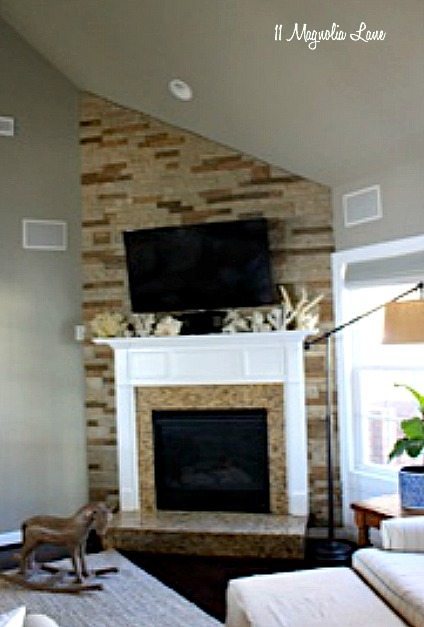
ANI: Our fireplace is placed at an angle, and the ceiling is sloped.
To calculate the surface area, I just measured the length times the width of the space we needed to cover (had to do a little trig for the slope), and subtracted the area of the actual fireplace. 1 carton of stones covers 8 square feet. We wound up using six complete cartons with only about a dozen individual stones left over; moral being if you measure correctly there won’t be much waste. Air Stone does make a “natural edge” version of this product, that you could use to properly end, or cap, the wall, if your fireplace is in the middle of a flat wall. Our wall is on an angle, so we had to do it the hard way.

On the left side (facing) of the fireplace, we had to miter every stone by 60 degrees. I included a picture of the edge, so you can see how the edge meets the wall. If we didn’t do so, the stones would just stick straight out from the wall like a stick of butter.
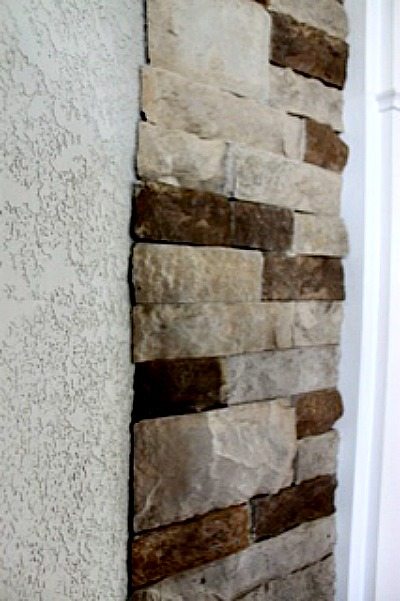
On the right side (facing) of the fire place, the wall has trim detail and window casing, then eventually meets the other wall. That was trial and error, but we eventually found the right angle to set the saw at to make these cuts. Where our ceiling meets the wall, we had to use the miter saw to cut those at 28.5 degrees. {This would be a good place to say that the manufacturer DECLARES that the only tool you need for this job is a hack saw.}
Anyway, around the mantel was a little tricky; we made a paper template, cut the template out, and then traced the shape onto the stone and cut that with a hack saw.

The manufacturer makes a specific adhesive for this product but it wasn’t in stock so we used Liquid Nails. As for how much, I would say squeeze what you think would be a reasonable amount of glue onto the back of the stone, then double that, and then give one more good squirt! This job took a LOT of glue – we used at least a dozen tubes of liquid nails. Liquid nails makes an outdoor product specifically for stone, a heavy duty product for “tough” jobs, and then of course the regular product. We tried all three and they all performed the same way so you are probably OK to buy the basic kind.
In total the job took us about 14 hours. We used a square, a miter saw, a compass, a hack saw, liquid nails, and a caulk gun. In hind sight – it would have been wise to employ the use of a ledger board for tricky areas like around the TV mount, but we just stuck the stones on the wall and held them in place by putting thumb tacks below them so they wouldn’t slide while they were drying. Super hi-tech!
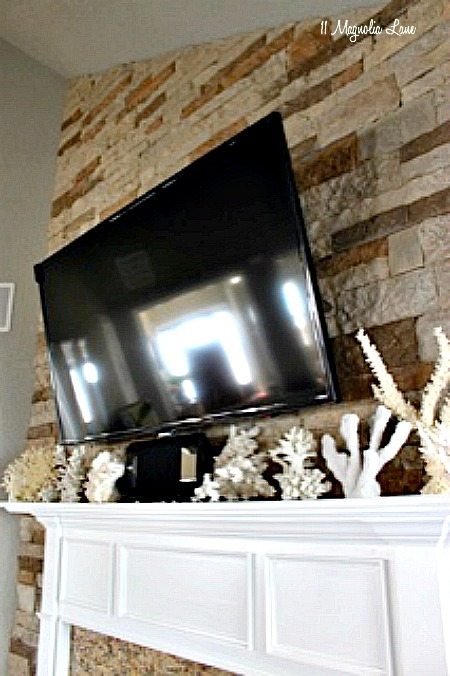
Isn’t is a great project? What a huge difference it makes, and they did it themselves!
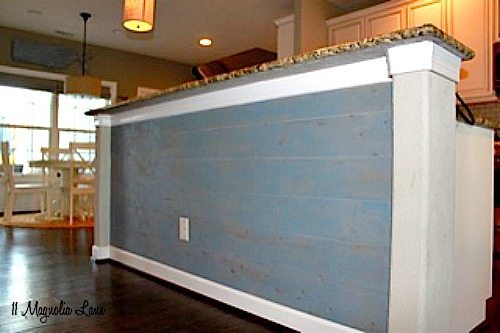
She sent me some pictures of some other projects they recently “whipped up”…like adding this pretty planking to their breakfast bar in their kitchen…
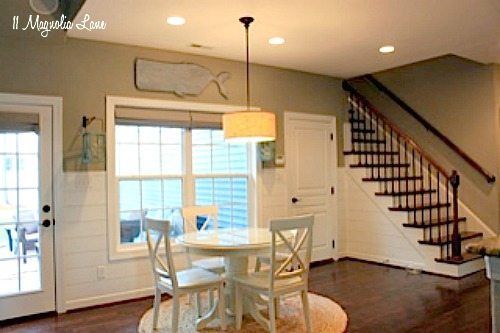
And they added planked the walls in the Breakfast Room, which you can see it below.
She also sent me pictures of her darling daughters’ bathroom, but I think it’s so cute it deserves its own post, so more to come! Thank you so much Ani, for sharing your lovely home and with us!