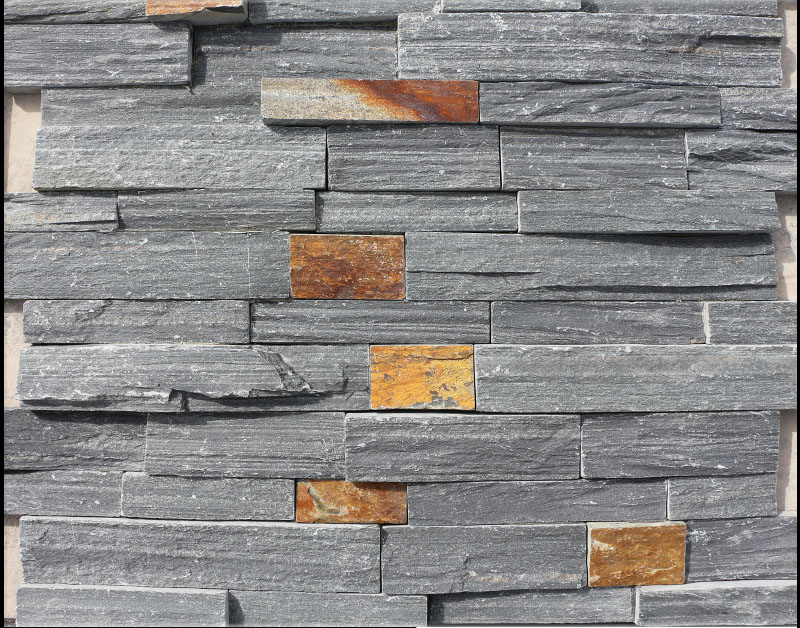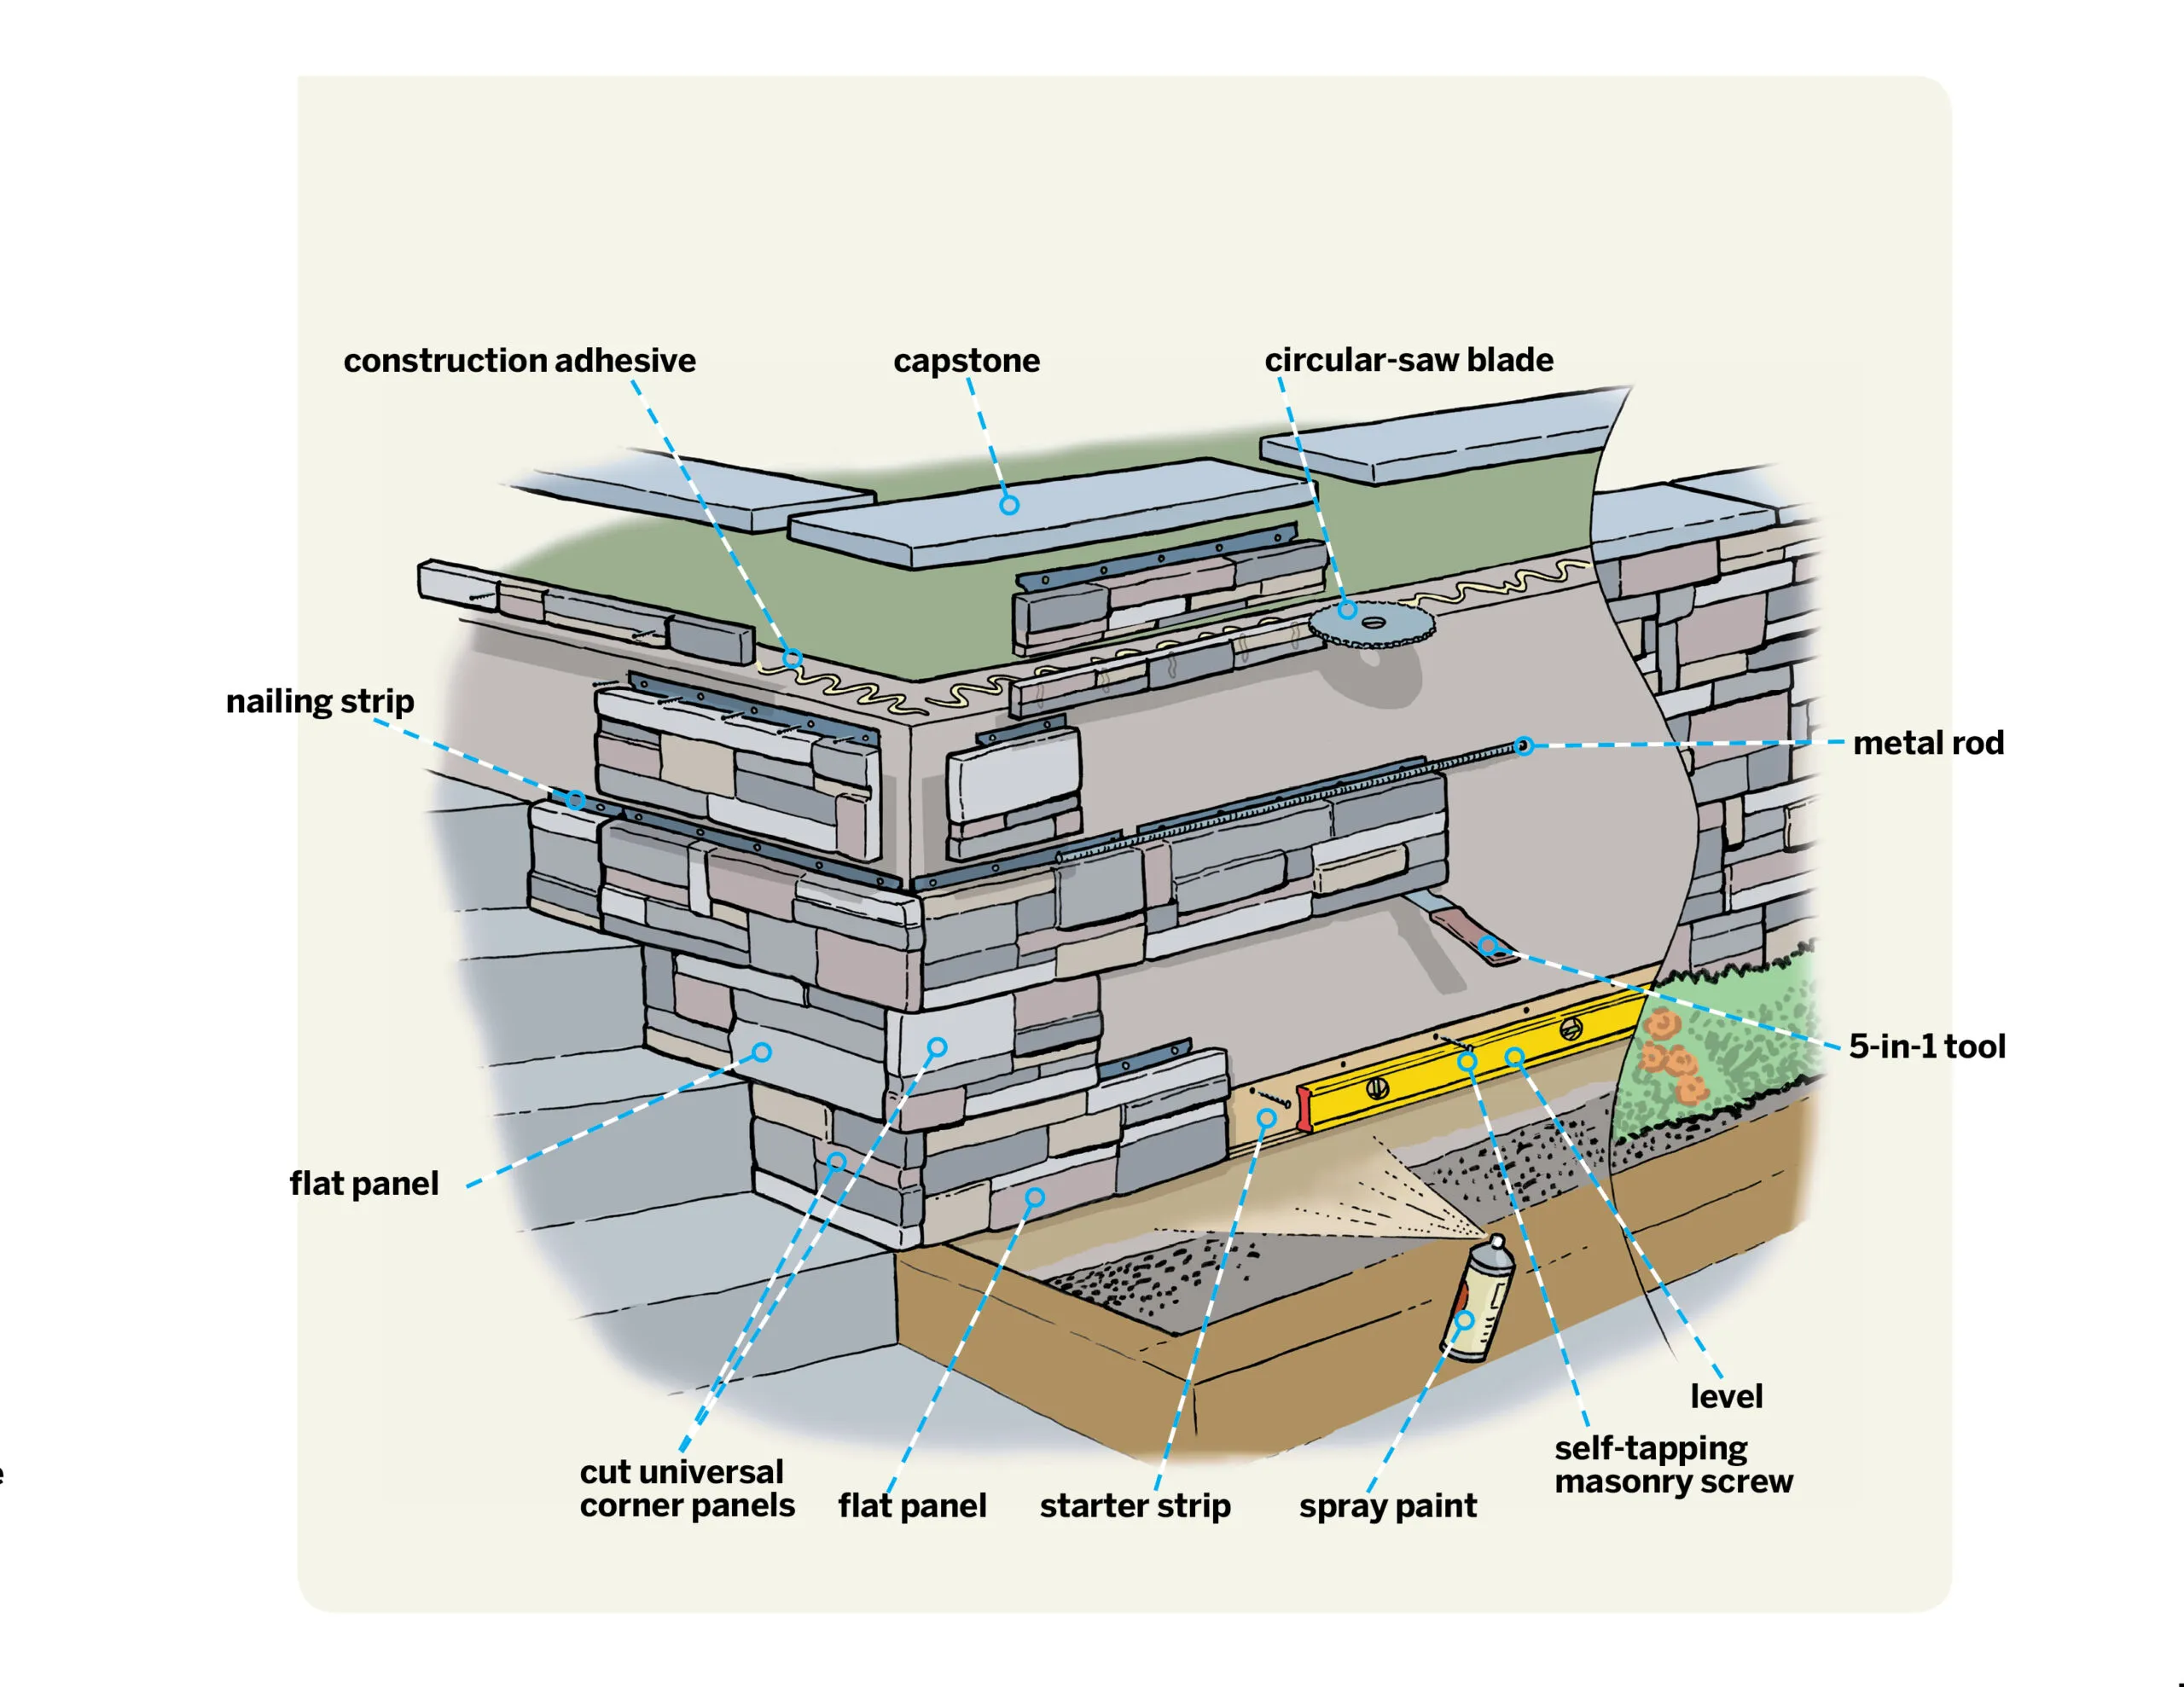
جدول زمانی:
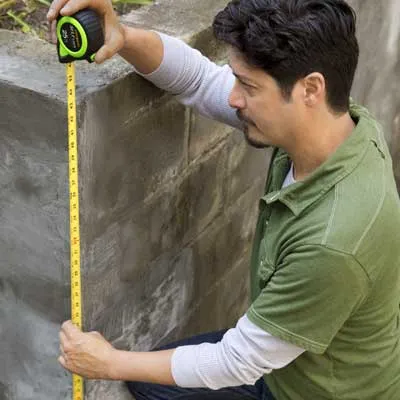
To calculate the number of universal corners to order, measure the height in inches of each outside wall corner, as shown, divide by 16, and round up to the nearest whole number. You’ll fill the area between the corners with flat panels. To calculate how many you’ll need, multiply the wall’s width by its height in feet and divide the resulting area by 2 (each panel covers 2 square feet). Subtract the number of universal corners from the result, then add 10 percent to your order of flat panels. Add one universal corner to be safe.
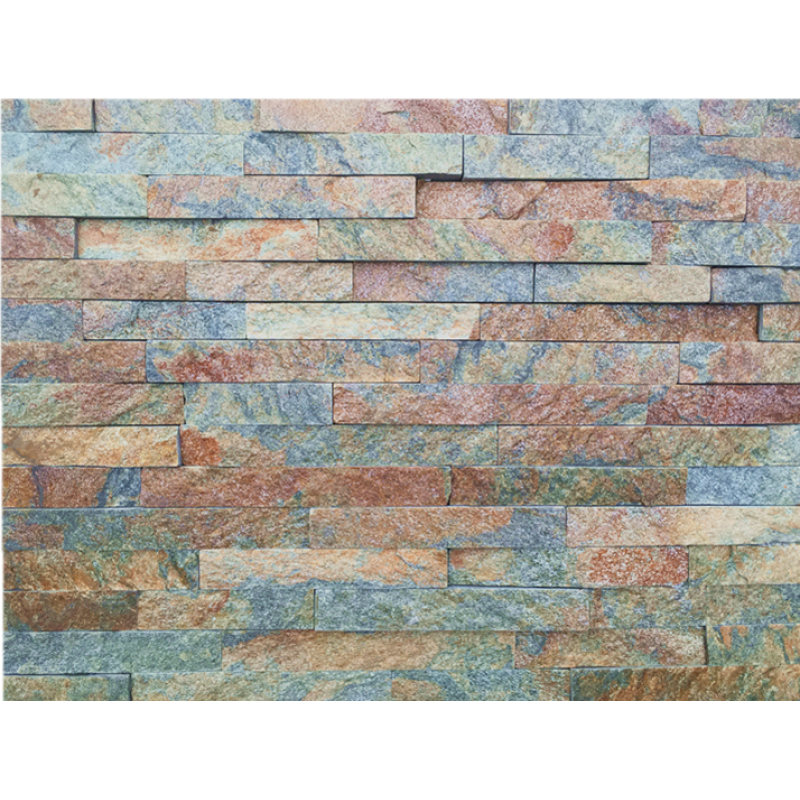
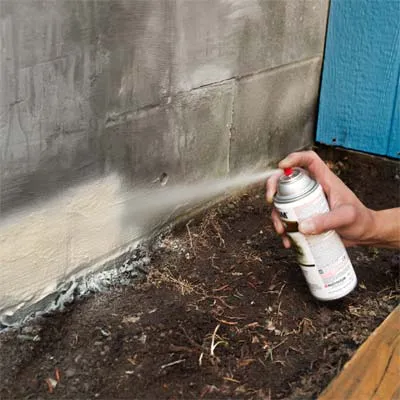
The panels must be installed above ground level, resting on a plastic support called a starter strip, so you’ll want to paint the wall below the strip to match the stone. Find a spray-paint color similar to the palette of your stone panels and paint the bottom few inches of the wall.
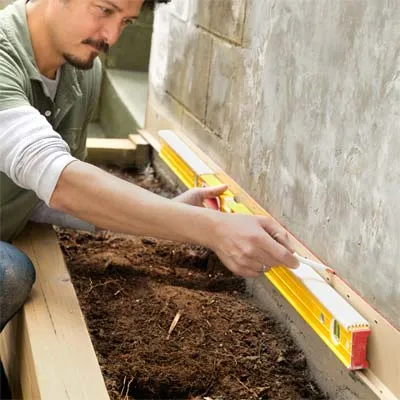
Set the location for the starter strip, at least 2 inches above any soil. Here, the strip’s lip aligns with the top of a stair on the adjacent side of the corner. Fit your drill/driver with a 3/16-inch masonry bit and drill a pilot hole through a slot in the strip near the corner and into the wall. Drive in a masonry screw to secure that end, then use the 4-foot level to bring the strip to level, and mark a line, as shown. Drill pilot holes and fasten the strip in two or three more spots, maintaining level.
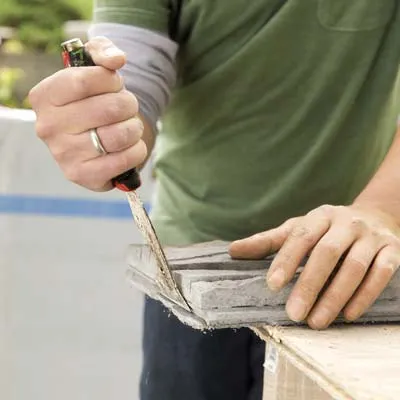
پانل های تخت دارای یک زبانه در هر طرف هستند که با شکاف های روی پانل های مسطح مجاور مشبک می شود، اما باید از هر انتهایی که یک گوشه را تشکیل می دهد جدا شود. صفحه را رو به بالا روی یک سطح کار قرار دهید و از تیغه ابزار 5 در 1 برای جدا کردن زبانه استفاده کنید. لبه صاف به دست آمده یک گوشه سفت ایجاد می کند.
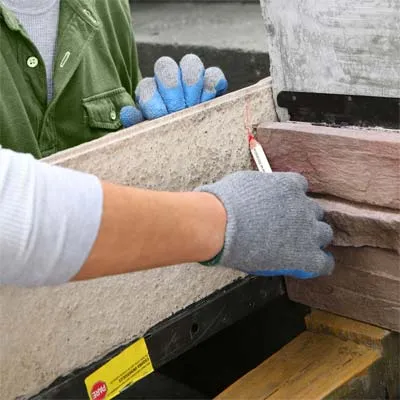
هر اجرا از یک گوشه شروع می شود، با انتهای تمام شده یک گوشه جهانی که انتهای یک پانل صاف (با حذف زبانه) همپوشانی دارد. ابتدا گوشه جهانی به دو قسمت بریده می شود. لبه تمام شده هر قطعه یک دوره را شروع می کند، و لبه برش خورده به یک صفحه مسطح تبدیل می شود. برای زیبایی شناسی، گوشه جهانی را طوری برش دهید که هر قطعه حداقل 8 اینچ طول داشته باشد. یا، مانند مورد ما، آن را به گونهای برش دهید که در برابر پلهها قرار گیرد: یک صفحه صاف را در سمت مجاور در نوار استارت قرار دهید، سپس گوشه جهانی را وارونه بچرخانید، لبه نهایی آن را در مقابل پلهها قرار دهید، و یک خط برش بنویسید. ، همانطور که نشان داده شده است.
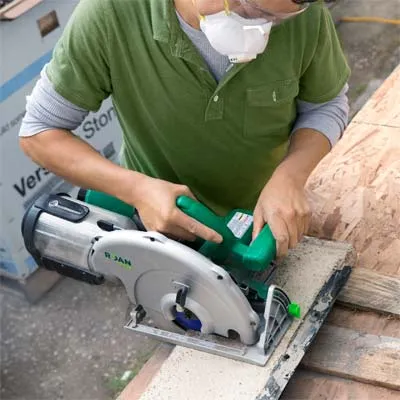
پانل علامتگذاریشده را رو به پایین روی یک سطح کار قرار دهید و تختههای ضایعاتی زیر آن در دو طرف خط برش قرار دهید. برای علامت گذاری یک برش مربعی در امتداد باریک ترین نقطه خط خطی از یک خط مستقیم استفاده کنید. اره دایره ای را با یک تیغه الماسی تقسیم شده قرار دهید و در امتداد خط برش دهید، از بتن و همچنین نوار نیلینگ فلزی عبور کنید. حتما از عینک ایمنی، ماسک گرد و غبار و محافظ شنوایی استفاده کنید.
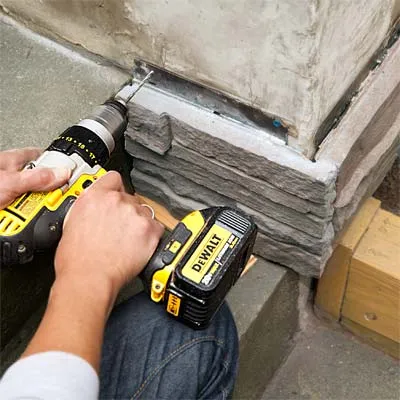
Hold the cut universal corner against the wall, bringing its finished end flush with the face of the adjacent flat panel so that the two pieces form a 90° outside corner. Level the universal corner, and drill pilot holes through the nailing strip, as shown, directly through the metal if necessary, in at least two places. Fasten the panel with 1¼-inch self-tapping masonry screws.
نکته: در حالی که مته را از سوراخ پیلوت خارج می کنید، به چرخش خود ادامه دهید تا گرد و غبار از آن خارج شود و به پیچ سنگ تراشی اجازه دهید به بتن ضربه بزند.
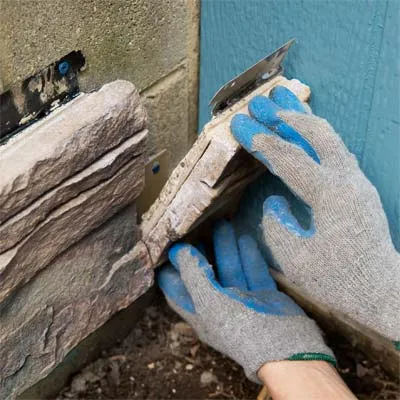
به نصب پانل های مسطح با اندازه کامل ادامه دهید و در مسیر پایین تر حرکت کنید. وقتی به پایان رسیدید، یک پانل جزئی را اندازه بگیرید و برش دهید تا انتهای دوره پر شود. اگر قطعه بریده شده دارای زبانه در دو طرف است، از ابزار 5 در 1 برای جدا کردن آن استفاده کنید. قطعه را در جای خود قرار دهید، سوراخ های پایلوت را دریل کنید و آن را به دیوار پیچ کنید.

Use the cut half of the universal corner from the first course, positioned on the opposite side of the corner to stagger the joints. Slip the tongue on its bottom edge into the groove on top of the flat panel beneath. Position a flat panel, with its tab removed, atop the universal corner in the first course. Be sure it’s cut to a different length than the piece beneath, to offset the joints across the wall. Mark and drill pilot holes for the universal corner, secure it, and install the adjacent flat panel to complete the corner.
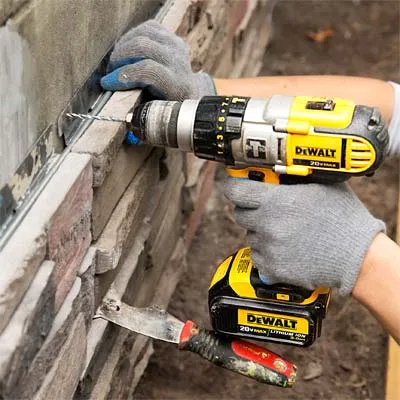
Work along the course, brushing out debris from the top groove to ensure that the panels fit together snugly. As you set each new panel, make sure that it’s aligned with the previous panel by nestling a ¼-inch metal rod in the groove along the top edge. The rod should lie flat and bridge the grooves in adjacent panels. If it doesn’t, use the 5-in-1 tool to shim the panel up, or back several screws out of the previous panel and adjust it. When the panels align, drill pilot holes and fasten them to the wall.

If the end of a panel falls in line with a joint on any of the previous courses, you’ll want to cut down its length slightly to maintain staggered joints. Hold the panel in place and mark the nailing strip at a different length. Transfer the mark to the back of the panel, cut it to size, and fasten it to the wall.
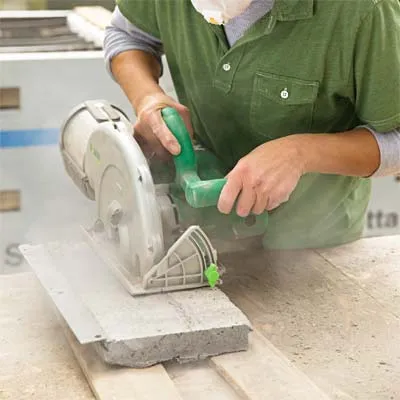
On the final course, you’ll need to cut down the height of the panels to fit, removing the nailing strip so that the stone reaches to the top of the wall. Rest a flat panel in place and scribe a cutline on the back at the height of the wall. Set the panel on a work surface, and use the circular saw to cut it to the proper height. You may want to cut your corner pieces to length first, then cut them to the proper height, as shown. Dry-fit the two pieces at the corner to check the fit.
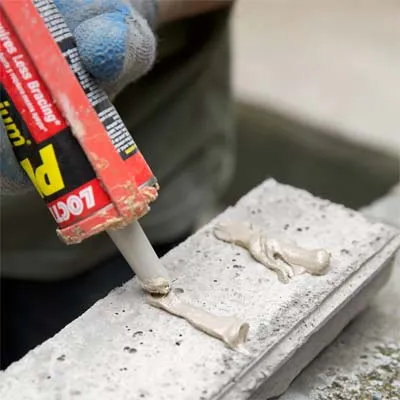
پانل های گوشه را بردارید و روی پشت هر قطعه را به صورت عمودی مانند شکل، مهره های مستقیم چسب ساختمانی بمالید تا آب در پشت پانل ها جریان پیدا کند و به درستی تخلیه شود. پانل ها را در جای خود روی دیوار قرار دهید و آنها را طوری تنظیم کنید که به خوبی در گوشه قرار گیرند.
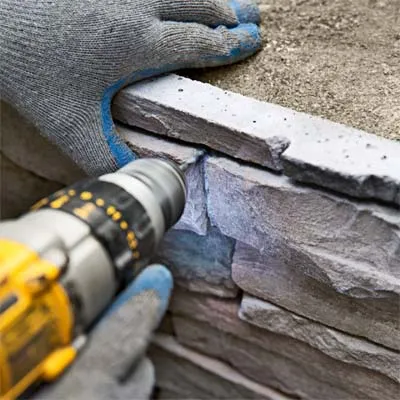
برای محکم کردن بیشتر پانل های برش خورده، چندین نقطه را روی هر یک قرار دهید که می توانید یک بست را به طور نامحسوس در اتصالات بین سنگ ها فرو کنید. قطعه را در جای خود نگه دارید، یک سوراخ پایلوت از پانل و داخل دیوار دریل کنید. در یک پیچ سنگ تراشی، سر را در زیر سطح پانل فرو کنید. سر پیچ ها را با درزگیر بپوشانید، مقداری گرد و غبار را از روی میز برش جمع کنید و آن را روی درزگیر خشک کن باد کنید تا استتار شود. به همین ترتیب می توانید هر شکافی را برطرف کنید. نصب پانل ها را در دوره نهایی به پایان برسانید.
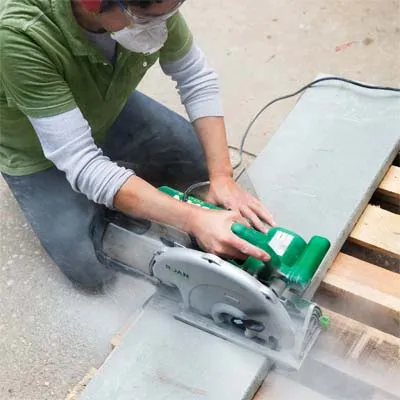
برای ایجاد یک برآمدگی، یک سنگ سقفی چند اینچ بیشتر از عمق دیوار پوشیده شده خود انتخاب کنید. سنگهای سقفی را اندازه بگیرید و علامت بزنید تا در امتداد بالای دیوار قرار بگیرند. همانطور که در تصویر نشان داده شده است از اره دایره ای و تیغه الماس تقسیم شده برای برش به طول استفاده کنید.
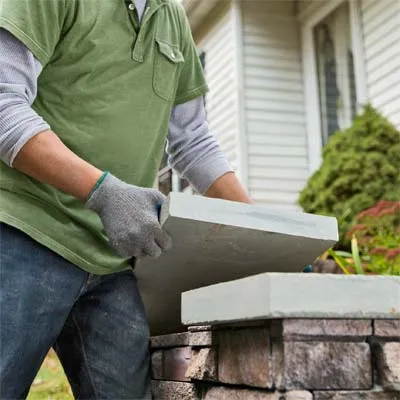
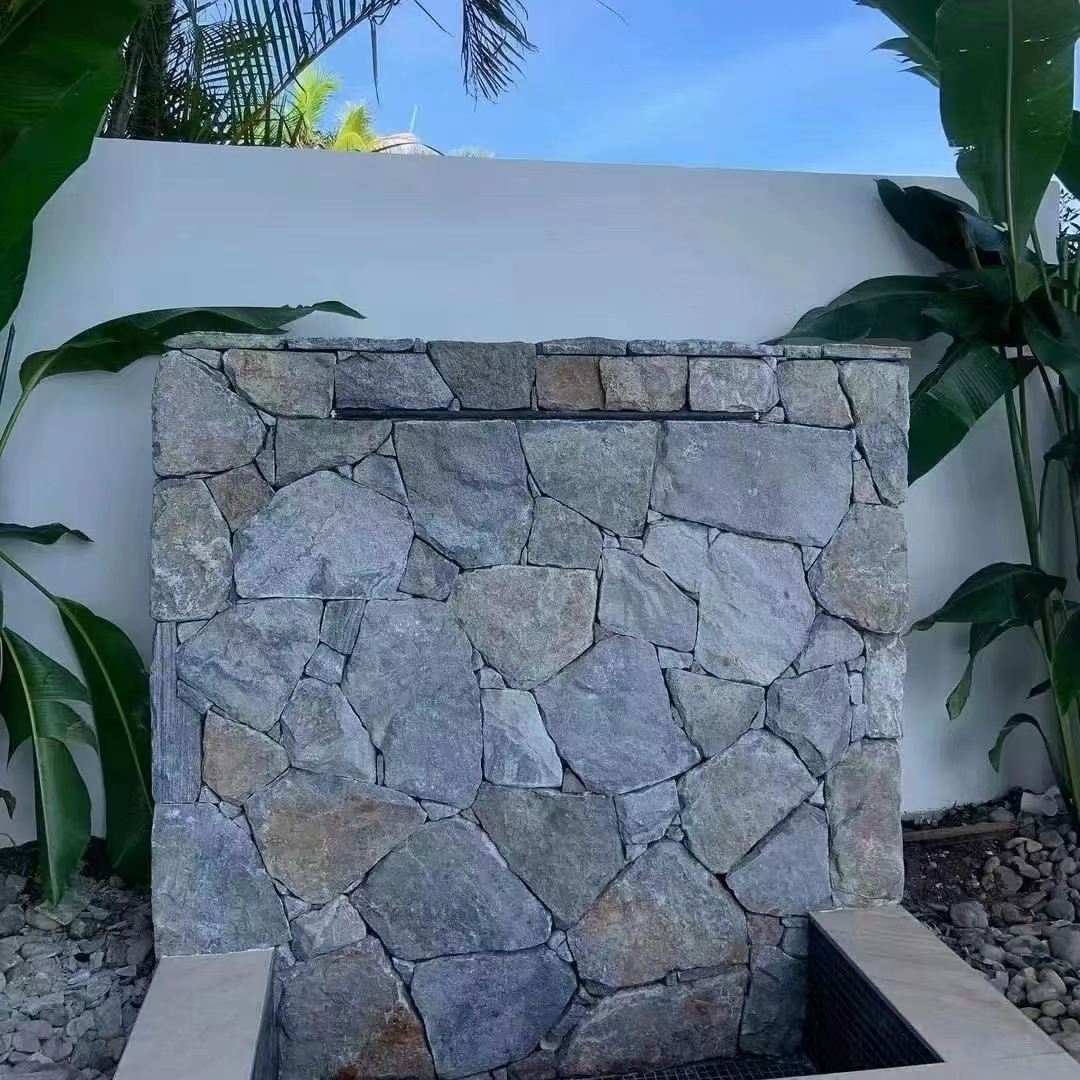
هنگام کار با یک شریک، سنگهای سقفی را بلند کرده و آنها را روی دیوار خشک کنید. آنها را بردارید و قبل از تنظیم مجدد سنگ ها، چسب ساختمانی را به بالای دیوار و لبه های روکش بزنید. یا اگر ظاهری حتی معتبرتر را ترجیح می دهید، آنها را در یک تخت سفت ملات قرار دهید. حالا یک قدم به عقب بردارید و از ظاهر یکپارچه آن شگفت زده شوید.
 آفریقایی
 آلبانیایی
 آمهری
 عربی
 ارمنی
 آذربایجانی
 باسکی
 بلاروسی
 بنگالی
 بوسنیایی
 بلغاری
 کاتالان
 سبوانو
 چین
 چین (تایوان)
 کورسی
 کروات
 کشور چک
 دانمارکی
 هلندی
 انگلیسی
 اسپرانتو
 استونیایی
 فنلاندی
 فرانسوی
 فریزی
 گالیسیایی
 گرجی
 آلمانی
 یونانی
 گجراتی
 کریول هائیتی
 هاوسا
 هاوایی
 عبری
 جواب منفی
 میائو
 مجارستانی
 ایسلندی
 igbo
 اندونزیایی
 ایرلندی
 ایتالیایی
 ژاپنی
 جاوه ای
 کانادا
 قزاقی
 خمر
 رواندا
 کره ای
 کردی
 قرقیزستان
 سل
 لاتین
 لتونی
 لیتوانیایی
 لوگزامبورگی
 مقدونی
 مالگاشی
 مالایی
 مالایایی
 مالتی
 مائوری
 مراتی
 مغولی
 میانمار
 نپالی
 نروژی
 نروژی
 اکسیتان
 پشتو
 فارسی
 لهستانی
 پرتغالی
 پنجابی
 رومانیایی
 روسی
 ساموآ
 گیلیک اسکاتلندی
 صربی
 انگلیسی
 شونا
 سندی
 سینهالی
 اسلواکی
 اسلوونیایی
 سومالی
 اسپانیایی
 ساندانی
 سواحیلی
 سوئدی
 تاگالوگ
 تاجیک
 تامیل
 تاتاری
 تلوگو
 تایلندی
 ترکی
 ترکمن
 اوکراینی
 اردو
 اویغور
 ازبکستان
 ویتنامی
 ولز