LAIKAS:
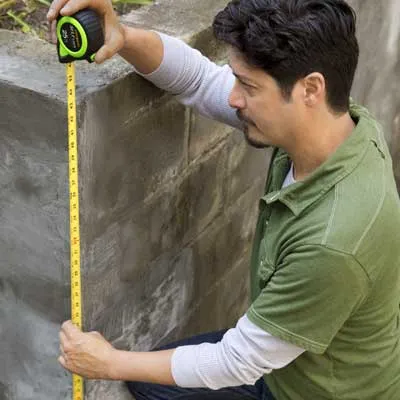
To calculate the number of universal corners to order, measure the height in inches of each outside wall corner, as shown, divide by 16, and round up to the nearest whole number. You’ll fill the area between the corners with flat panels. To calculate how many you’ll need, multiply the wall’s width by its height in feet and divide the resulting area by 2 (each panel covers 2 square feet). Subtract the number of universal corners from the result, then add 10 percent to your order of flat panels. Add one universal corner to be safe.
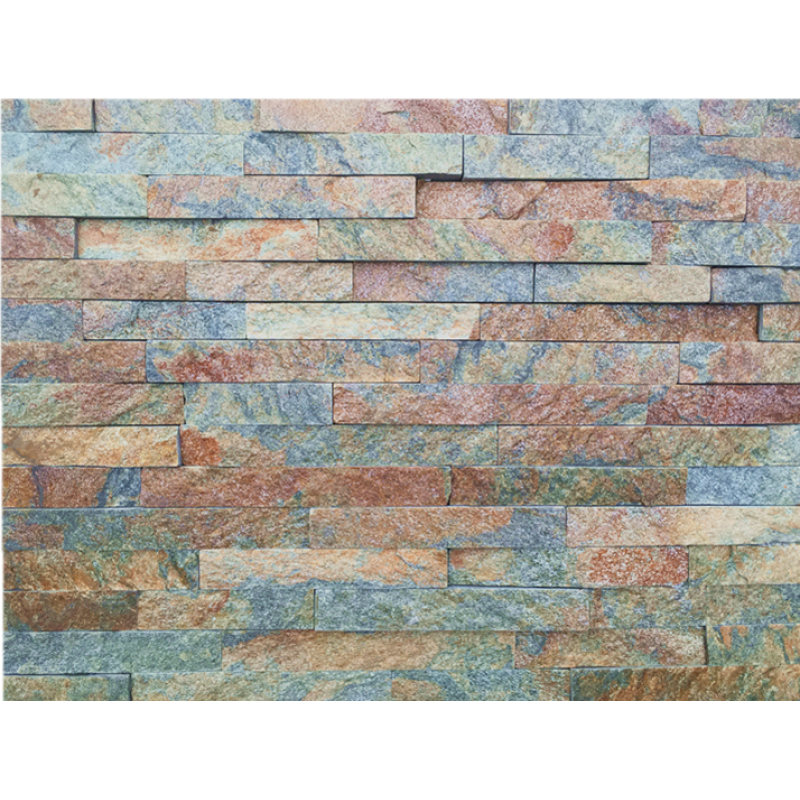
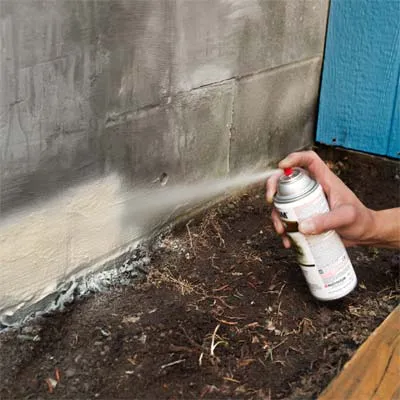
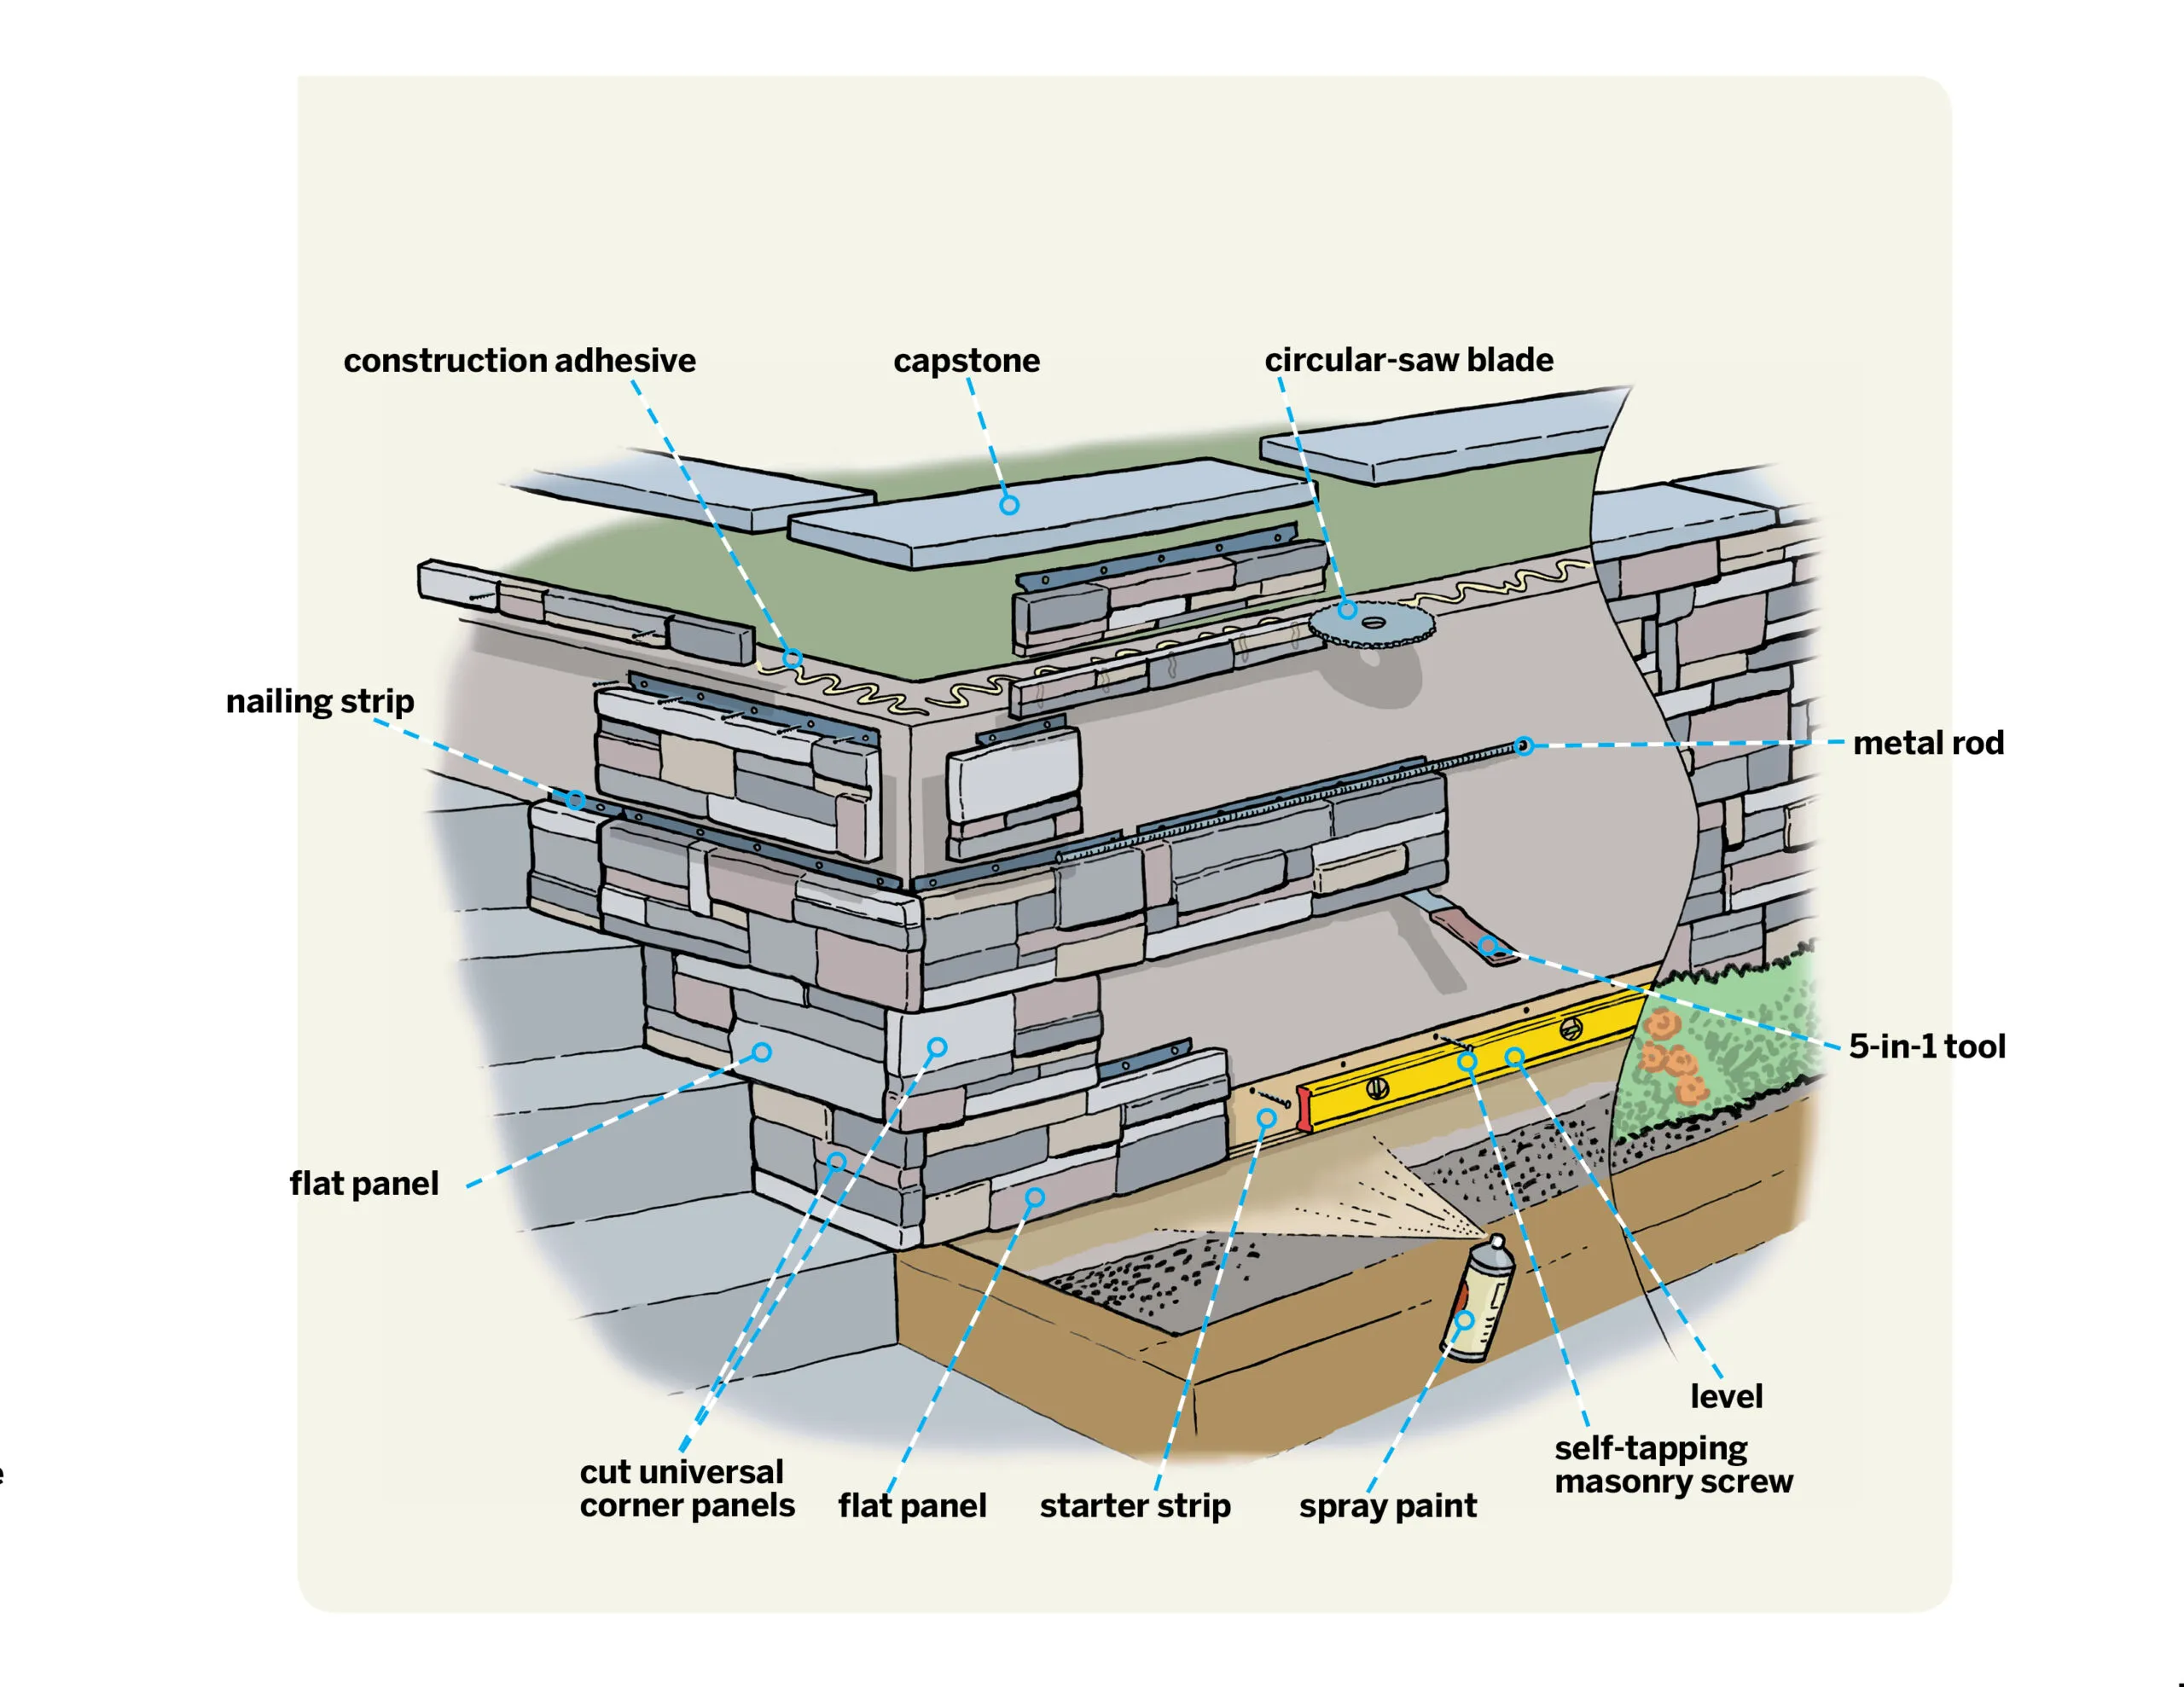
The panels must be installed above ground level, resting on a plastic support called a starter strip, so you’ll want to paint the wall below the strip to match the stone. Find a spray-paint color similar to the palette of your stone panels and paint the bottom few inches of the wall.
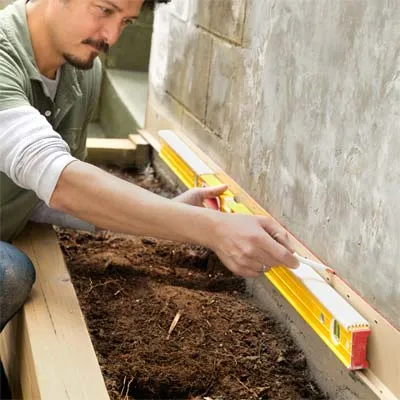
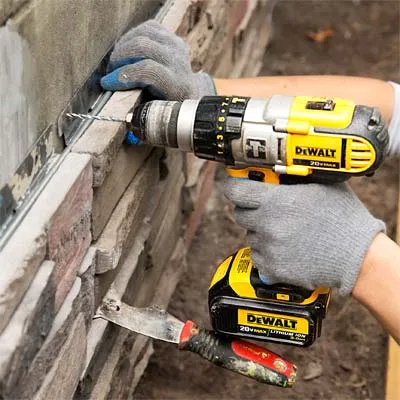
Set the location for the starter strip, at least 2 inches above any soil. Here, the strip’s lip aligns with the top of a stair on the adjacent side of the corner. Fit your drill/driver with a 3/16-inch masonry bit and drill a pilot hole through a slot in the strip near the corner and into the wall. Drive in a masonry screw to secure that end, then use the 4-foot level to bring the strip to level, and mark a line, as shown. Drill pilot holes and fasten the strip in two or three more spots, maintaining level.
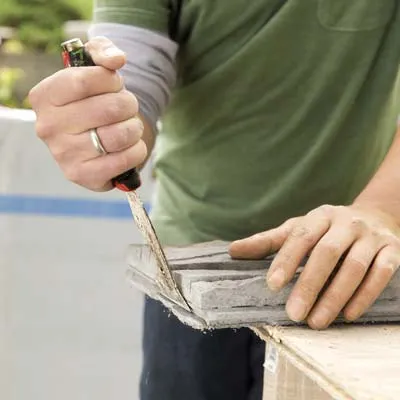
Plokščios plokštės turi kiekvienoje pusėje skirtuką, kuris susilieja su gretimų plokščių plokščių plyšiais, bet turi būti pašalintas iš bet kurio kampą sudarančio galo. Padėkite skydelį veidu į viršų ant darbinio paviršiaus ir įrankio 5 viename ašmenimis nuplėškite skirtuką, kaip parodyta. Gautas plokščias kraštas sudarys griežtą kampą.
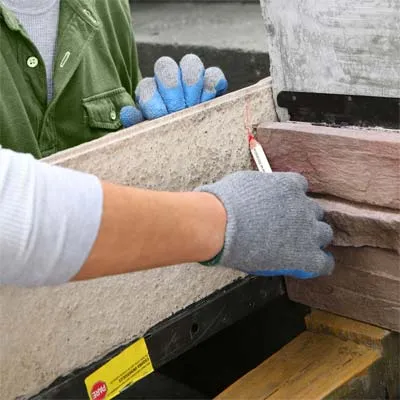
Kiekvienas paleidimas prasideda nuo kampo, o baigtas universalaus kampo galas sutampa su plokščio skydelio galu (nuėmus skirtuką). Pirma, universalus kampas supjaustomas į dvi dalis; baigtas kiekvieno gabalo kraštas pradeda eigą, o nupjautas kraštas susikerta į plokščią plokštę. Dėl estetikos nupjaukite universalų kampą taip, kad kiekvienas gabalas būtų bent 8 colių ilgio. Arba, kaip mūsų atveju, supjaustykite jį taip, kad jis tilptų prie laiptų stovo: padėkite plokščią plokštę gretimoje pusėje į pradinę juostelę, tada apverskite universalų kampą aukštyn kojomis, priglauskite galutinį kraštą prie laiptų stovo ir nubrėžkite pjovimo liniją. , taip, kaip parodyta.
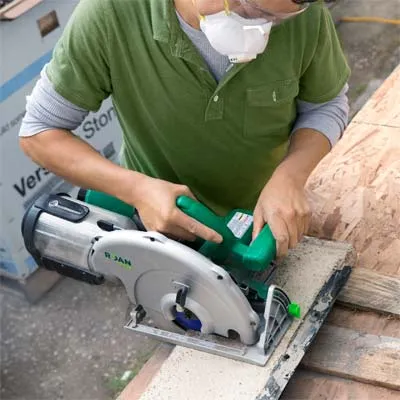
Padėkite pažymėtą plokštę veidu žemyn ant darbinio paviršiaus, o po juo abiejose pjovimo linijos pusėse padėkite lentas. Naudokite tiesiąją briauną, kad pažymėtumėte kvadratinę pjūvio liniją palei siauriausią nubrėžtos linijos tašką. Diskinį pjūklą pritvirtinkite segmentuotu deimantiniu disku ir pjaukite išilgai linijos, eidami per betoną ir metalinę vinių juostelę. Būtinai dėvėkite apsauginius akinius, kaukę nuo dulkių ir klausos apsaugos priemones.
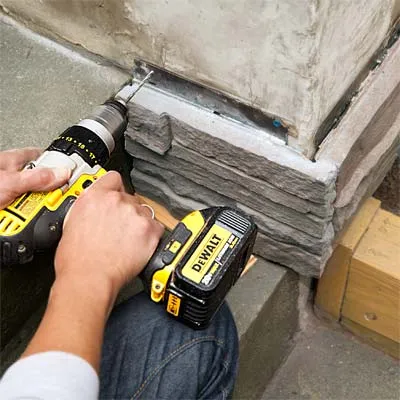
Hold the cut universal corner against the wall, bringing its finished end flush with the face of the adjacent flat panel so that the two pieces form a 90° outside corner. Level the universal corner, and drill pilot holes through the nailing strip, as shown, directly through the metal if necessary, in at least two places. Fasten the panel with 1¼-inch self-tapping masonry screws.
Patarimas: Grąžtą ištraukdami iš bandomosios skylės laikykite suktis, kad pašalintumėte dulkes, leisdami mūro varžtui įsikišti į betoną.
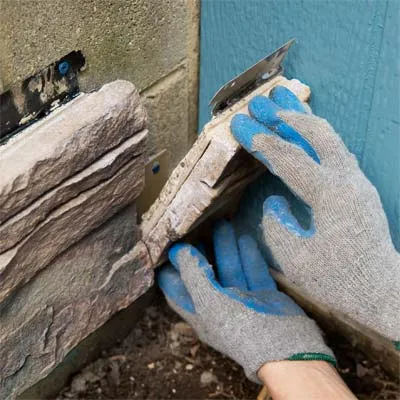
Toliau montuokite viso dydžio plokščias plokštes ir judėkite žemyn. Kai artėsite prie pabaigos, išmatuokite ir nupjaukite dalinę plokštę, kad užpildytumėte kurso pabaigą. Jei nupjautas gabalas turi skirtuką iš abiejų pusių, naudokite įrankį 5 viename, kad jį numuštumėte. Įstatykite gabalą į vietą, išgręžkite bandomąsias skylutes ir prisukite prie sienos.

Use the cut half of the universal corner from the first course, positioned on the opposite side of the corner to stagger the joints. Slip the tongue on its bottom edge into the groove on top of the flat panel beneath. Position a flat panel, with its tab removed, atop the universal corner in the first course. Be sure it’s cut to a different length than the piece beneath, to offset the joints across the wall. Mark and drill pilot holes for the universal corner, secure it, and install the adjacent flat panel to complete the corner.
Work along the course, brushing out debris from the top groove to ensure that the panels fit together snugly. As you set each new panel, make sure that it’s aligned with the previous panel by nestling a ¼-inch metal rod in the groove along the top edge. The rod should lie flat and bridge the grooves in adjacent panels. If it doesn’t, use the 5-in-1 tool to shim the panel up, or back several screws out of the previous panel and adjust it. When the panels align, drill pilot holes and fasten them to the wall.

If the end of a panel falls in line with a joint on any of the previous courses, you’ll want to cut down its length slightly to maintain staggered joints. Hold the panel in place and mark the nailing strip at a different length. Transfer the mark to the back of the panel, cut it to size, and fasten it to the wall.
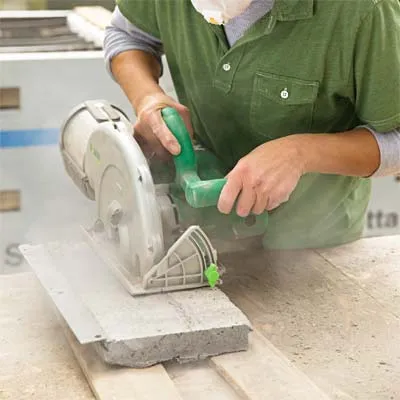
On the final course, you’ll need to cut down the height of the panels to fit, removing the nailing strip so that the stone reaches to the top of the wall. Rest a flat panel in place and scribe a cutline on the back at the height of the wall. Set the panel on a work surface, and use the circular saw to cut it to the proper height. You may want to cut your corner pieces to length first, then cut them to the proper height, as shown. Dry-fit the two pieces at the corner to check the fit.
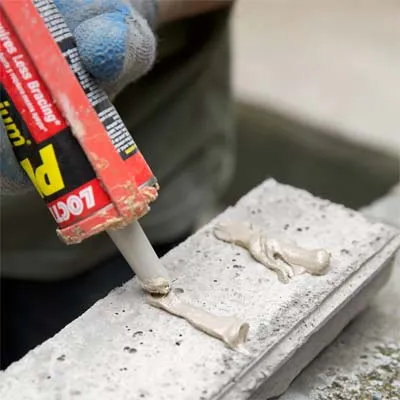
Nuimkite kampines plokštes ir ant kiekvienos dalies užpakalinės dalies vertikaliai užtepkite tiesius statybinių klijų rutuliukus, kaip parodyta, kad vanduo galėtų laisvai tekėti už plokščių ir tinkamai nutekėti. Padėkite plokštes ant sienos ir sureguliuokite, kad jos tvirtai priglustų prie kampo.
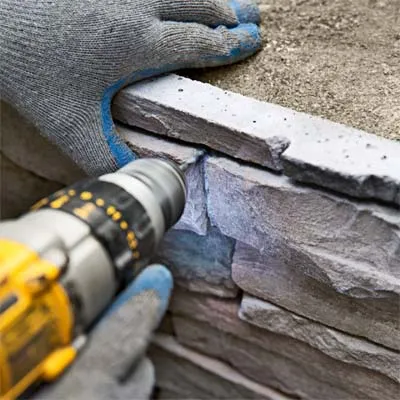
Norėdami dar labiau pritvirtinti nupjautas plokštes, ant kiekvienos jų suraskite kelias vietas, kuriose galite nepastebimai įsmigti tvirtinimo detalę į sandūrą tarp akmenų. Laikydami gabalą vietoje, išgręžkite bandomąją skylę per skydą ir į sieną. Įsukite mūrinį varžtą, nuleidžiant galvutę žemiau plokštės paviršiaus. Uždenkite varžtų galvutes sandarikliu, surinkite šiek tiek dulkių nuo pjovimo stalo ir užpūskite jas ant džiovinimo sandariklio, kad užmaskuotų. Tokiu pat būdu galite užtaisyti bet kokius tarpus. Baikite montuoti plokštes paskutiniame kurse.
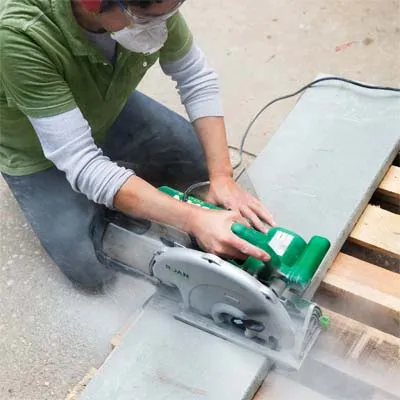
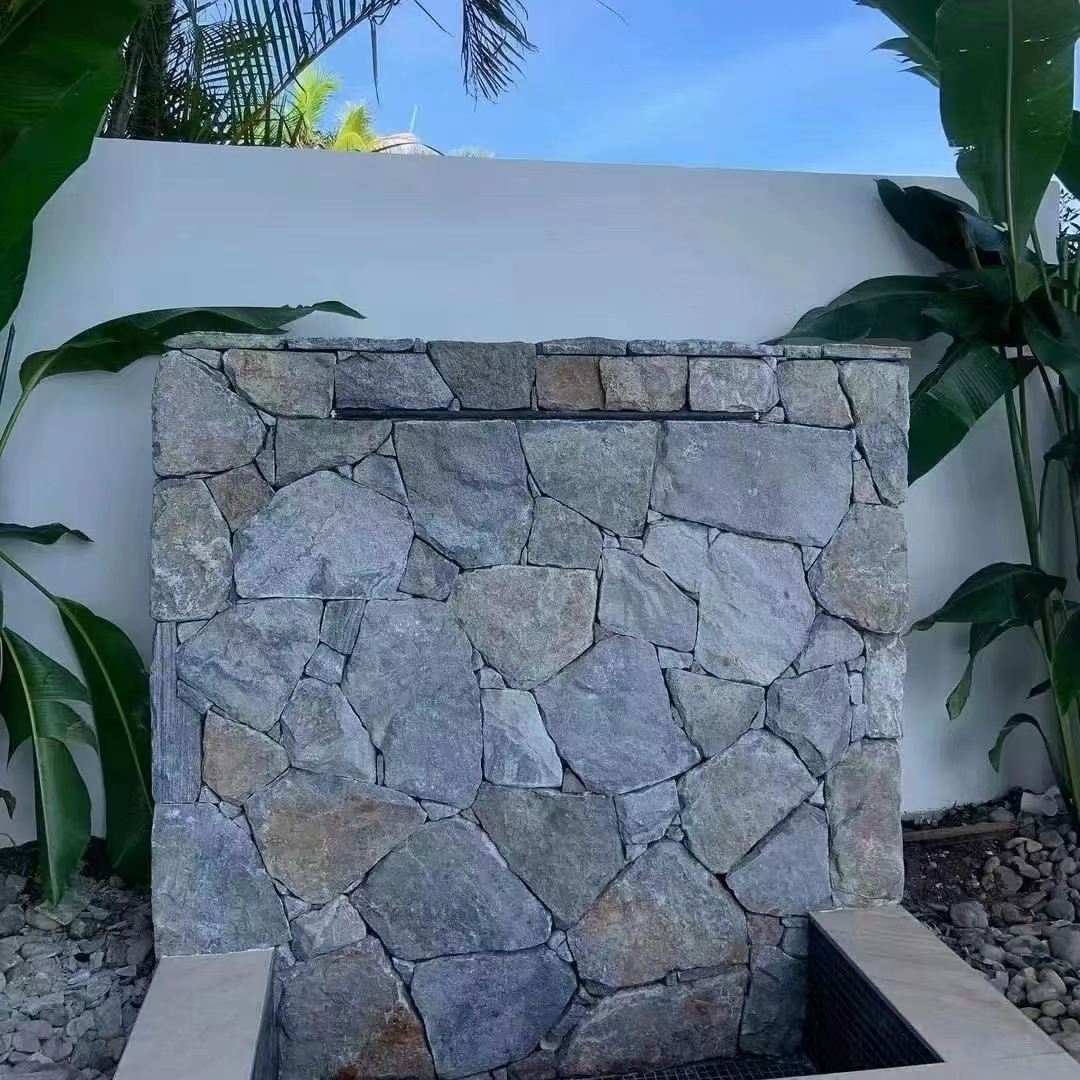
Norėdami sukurti iškyšą, pasirinkite keliais coliais platesnį už jūsų plakiruotos sienos gylį. Išmatuokite ir pažymėkite viršutinius akmenis, kad jie tilptų išilgai sienos viršaus. Naudokite diskinį pjūklą ir segmentuotą deimantinį diską, kad nupjautumėte iki ilgio, kaip parodyta.
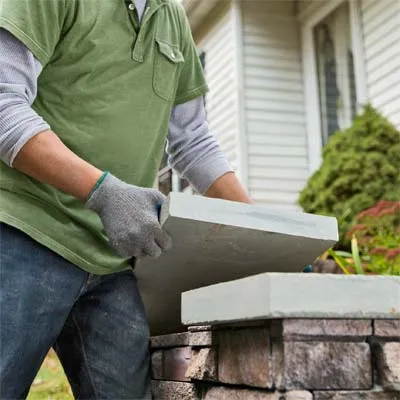
Dirbdami su partneriu, pakelkite pagrindinius akmenis ir sausai pritvirtinkite juos ant sienos viršaus. Nuimkite juos ir prieš atstatydami akmenis ant sienos viršaus ir faneros kraštų patepkite statybiniais klijais; arba, jei norite dar autentiškesnės išvaizdos, padėkite juos į standų skiedinio lovą. Dabar ženkite žingsnį atgal ir stebėkitės vientisa išvaizda.
 Afrikos
 albanų
 amharų
 arabiškas
 armėnų
 Azerbaidžaniečių
 baskų
 baltarusių
 bengalų
 bosnių
 bulgarų
 katalonų
 Cebuano
 Kinija
 Kinija (Taivanas)
 Korsikos
 kroatų
 čekų
 danų
 olandų
 Anglų
 Esperanto
 Estų
 suomių
 Prancūzų kalba
 fryzų
 Galisų
 gruzinų
 vokiečių
 graikų
 gudžaratų
 Haičio kreolų
 hausa
 havajietis
 hebrajų
 Ne
 Miao
 vengrų
 islandų
 igbo
 Indoneziečių
 airių
 italų
 japonų
 javiečių
 kanada
 kazachų
 khmerų
 Ruandos
 korėjiečių
 kurdų
 Kirgizų
 TB
 lotynų kalba
 latvių
 lietuvių
 liuksemburgiečių
 Makedonietis
 Malgashi
 malajiečių
 malajalių
 maltiečių
 maorių
 marati
 mongolų
 Mianmaras
 Nepaliečių
 norvegų
 norvegų
 oksitanų
 puštūnų
 persų
 lenkas
 portugalų
 Pandžabų
 rumunų
 rusų
 samoiečių
 škotų gėlų
 serbų
 Anglų
 Šona
 Sindų
 Sinhala
 slovakų
 slovėnų
 Somalis
 ispanų
 Sundanai
 suahilių
 Švedijos
 tagalogų
 tadžikų
 tamilų
 totorių
 telugų
 tajų
 turkų
 turkmėnų
 ukrainiečių
 urdu
 Uigūras
 uzbekas
 vietnamiečių
 valų