타임라인:
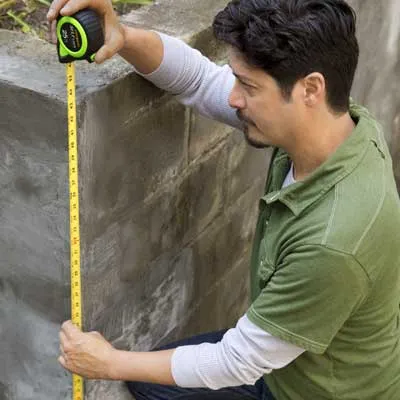
To calculate the number of universal corners to order, measure the height in inches of each outside wall corner, as shown, divide by 16, and round up to the nearest whole number. You’ll fill the area between the corners with flat panels. To calculate how many you’ll need, multiply the wall’s width by its height in feet and divide the resulting area by 2 (each panel covers 2 square feet). Subtract the number of universal corners from the result, then add 10 percent to your order of flat panels. Add one universal corner to be safe.
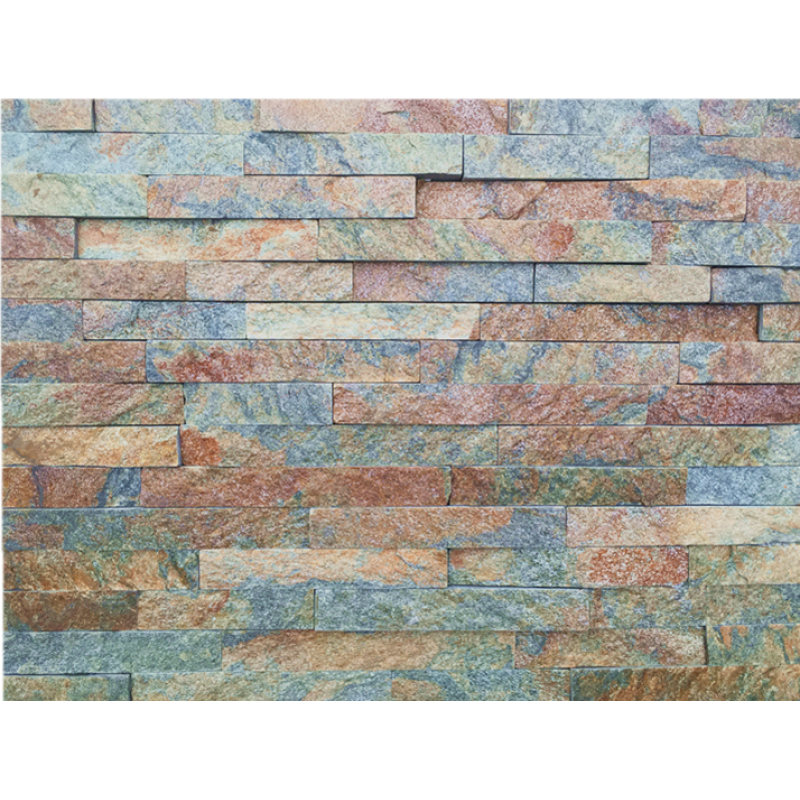
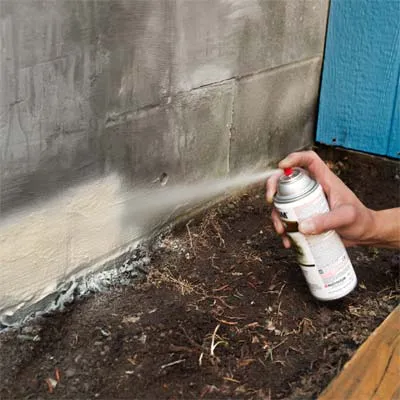
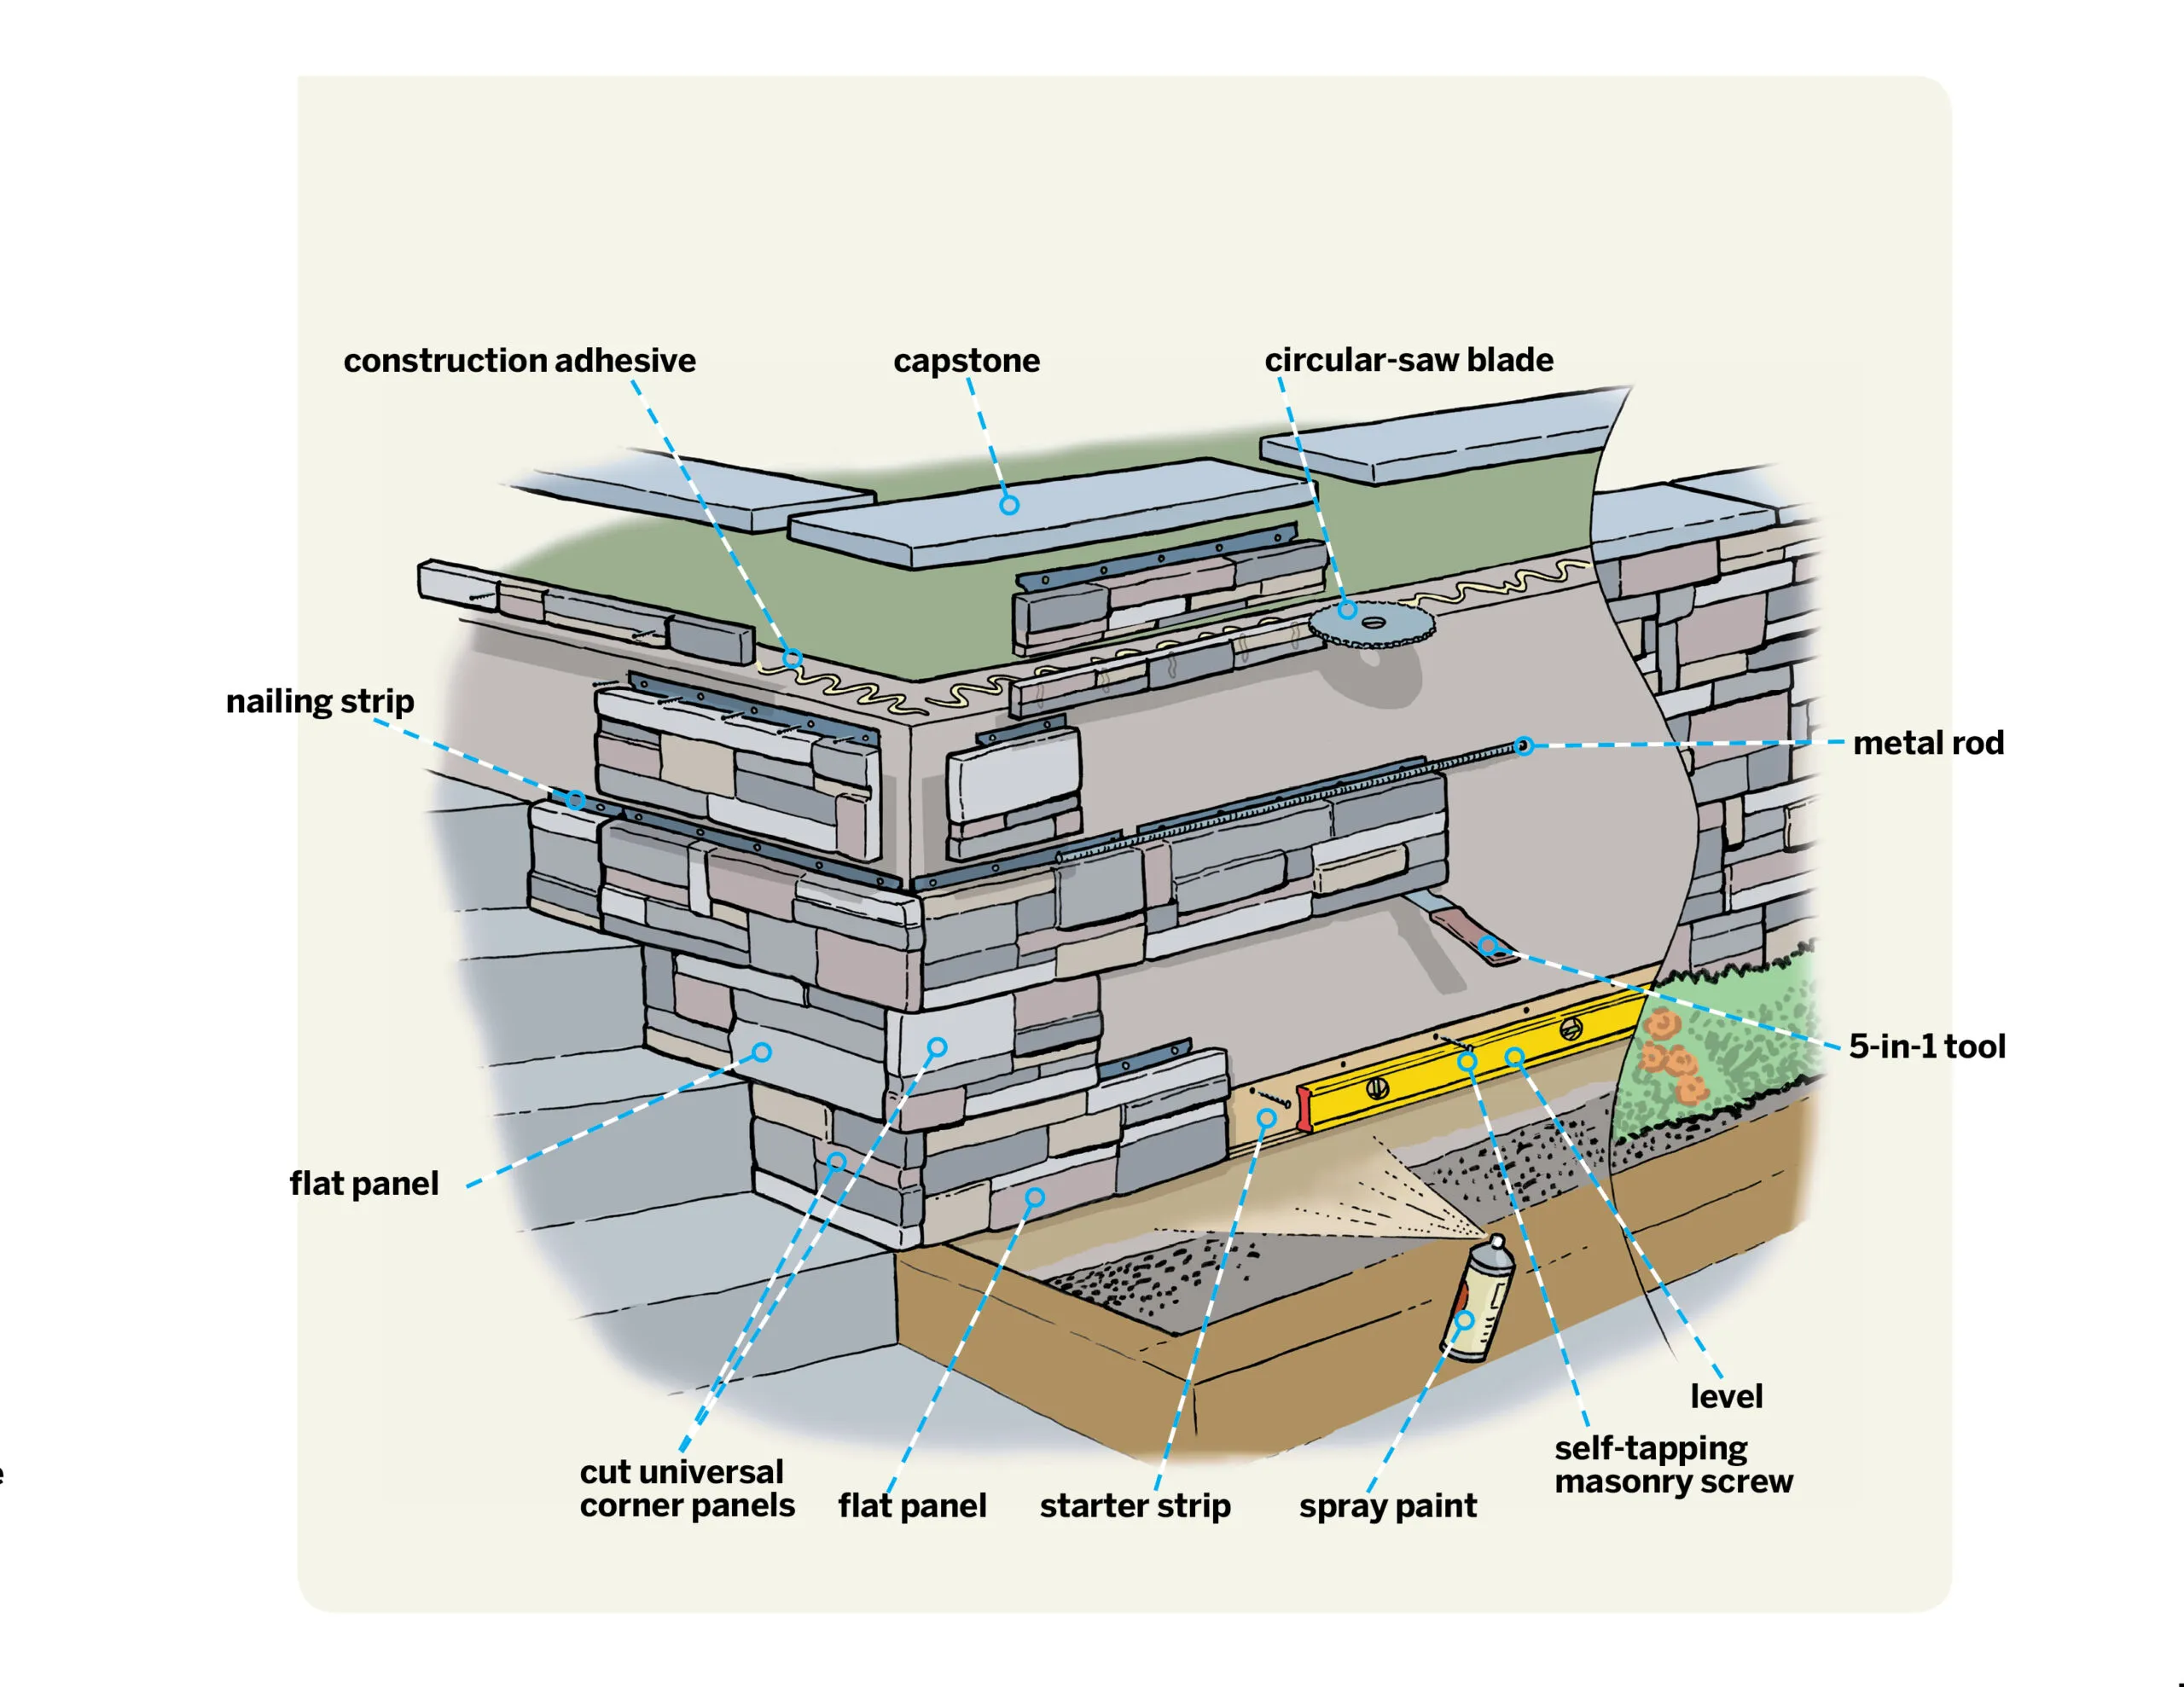
The panels must be installed above ground level, resting on a plastic support called a starter strip, so you’ll want to paint the wall below the strip to match the stone. Find a spray-paint color similar to the palette of your stone panels and paint the bottom few inches of the wall.
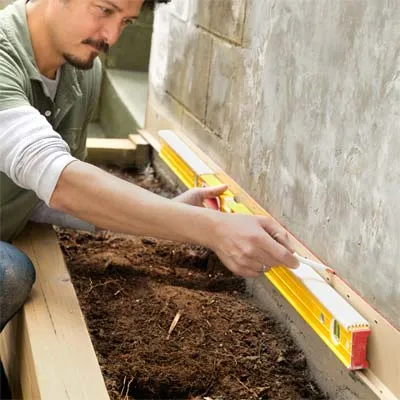
Set the location for the starter strip, at least 2 inches above any soil. Here, the strip’s lip aligns with the top of a stair on the adjacent side of the corner. Fit your drill/driver with a 3/16-inch masonry bit and drill a pilot hole through a slot in the strip near the corner and into the wall. Drive in a masonry screw to secure that end, then use the 4-foot level to bring the strip to level, and mark a line, as shown. Drill pilot holes and fasten the strip in two or three more spots, maintaining level.
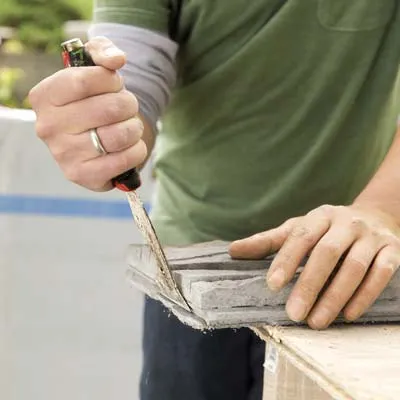
평면 패널의 각 측면에는 인접한 평면 패널의 슬롯과 맞물리는 탭이 있지만 모서리를 형성하는 끝에서 제거해야 합니다. 그림과 같이 패널을 작업 표면에 위로 향하게 놓고 5-in-1 도구의 블레이드를 사용하여 탭을 두드립니다. 결과적으로 평평한 가장자리는 단단한 모서리를 만듭니다.
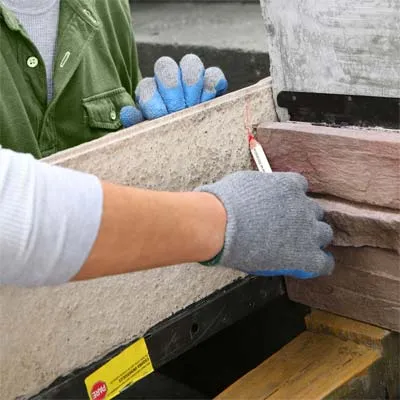
각 실행은 모서리에서 시작되며 범용 모서리의 완성된 끝은 평면 패널의 끝(탭이 제거됨)과 겹치게 됩니다. 먼저 범용 코너를 두 부분으로 자릅니다. 각 조각의 완성된 가장자리는 코스를 시작하고 절단된 가장자리는 평면 패널에 맞물립니다. 미적 측면을 고려하여 각 조각의 길이가 최소 8인치가 되도록 범용 모서리를 자릅니다. 또는 우리의 경우와 같이 계단 라이저에 맞도록 잘라냅니다. 시작 스트립의 인접한 측면에 평평한 패널을 놓은 다음 범용 코너를 거꾸로 회전하고 마감된 가장자리를 계단 라이저에 맞대고 절단선을 그립니다. , 보여진 바와 같이.
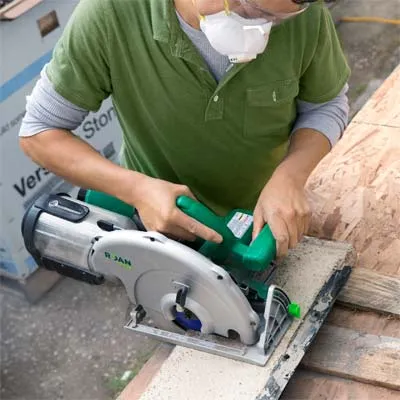
절단선 양쪽 아래에 스크랩 보드를 놓고 표시된 패널을 작업대 위에 뒤집어 놓습니다. 직선자를 사용하여 필기한 선의 가장 좁은 지점을 따라 사각형 절단선을 표시합니다. 분할된 다이아몬드 날로 원형 톱을 장착하고 선을 따라 절단하고 콘크리트와 금속 못 박는 스트립을 통과합니다. 보안경, 방진마스크, 청력보호구를 반드시 착용하세요.
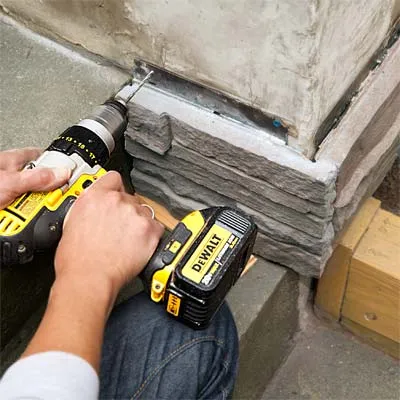
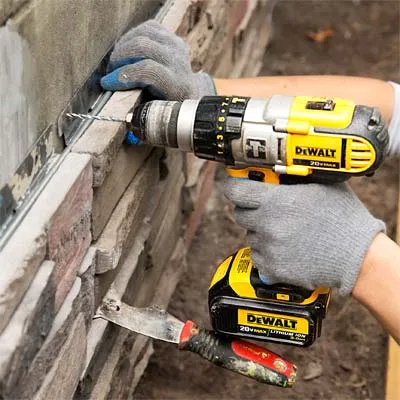
Hold the cut universal corner against the wall, bringing its finished end flush with the face of the adjacent flat panel so that the two pieces form a 90° outside corner. Level the universal corner, and drill pilot holes through the nailing strip, as shown, directly through the metal if necessary, in at least two places. Fasten the panel with 1¼-inch self-tapping masonry screws.
팁: 파일럿 구멍에서 드릴을 뒤로 빼낼 때 비트를 계속 회전시켜 먼지를 제거하고 석조 나사가 콘크리트에 두드릴 수 있도록 합니다.
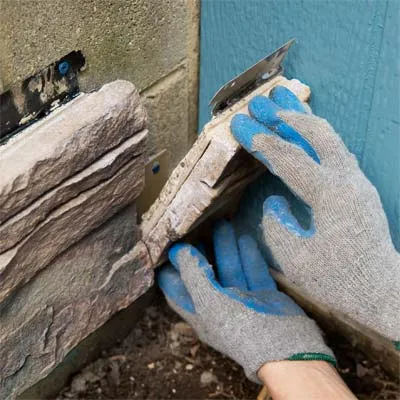
전체 크기 평면 패널을 계속 설치하면서 코스를 진행해 보세요. 끝이 가까워지면 부분 패널을 측정하고 잘라서 코스 끝을 채웁니다. 절단된 조각의 양쪽에 탭이 있는 경우 5-in-1 도구를 사용하여 탭을 떼어냅니다. 조각을 제자리에 맞추고 파일럿 구멍을 뚫은 다음 벽에 나사로 고정합니다.

Use the cut half of the universal corner from the first course, positioned on the opposite side of the corner to stagger the joints. Slip the tongue on its bottom edge into the groove on top of the flat panel beneath. Position a flat panel, with its tab removed, atop the universal corner in the first course. Be sure it’s cut to a different length than the piece beneath, to offset the joints across the wall. Mark and drill pilot holes for the universal corner, secure it, and install the adjacent flat panel to complete the corner.
Work along the course, brushing out debris from the top groove to ensure that the panels fit together snugly. As you set each new panel, make sure that it’s aligned with the previous panel by nestling a ¼-inch metal rod in the groove along the top edge. The rod should lie flat and bridge the grooves in adjacent panels. If it doesn’t, use the 5-in-1 tool to shim the panel up, or back several screws out of the previous panel and adjust it. When the panels align, drill pilot holes and fasten them to the wall.

If the end of a panel falls in line with a joint on any of the previous courses, you’ll want to cut down its length slightly to maintain staggered joints. Hold the panel in place and mark the nailing strip at a different length. Transfer the mark to the back of the panel, cut it to size, and fasten it to the wall.
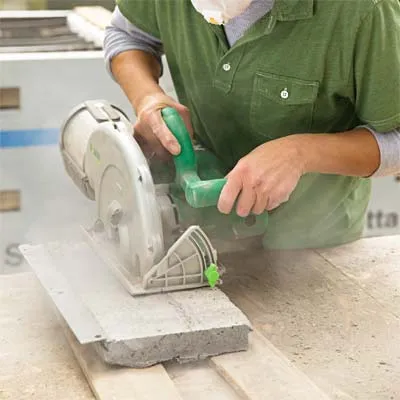
On the final course, you’ll need to cut down the height of the panels to fit, removing the nailing strip so that the stone reaches to the top of the wall. Rest a flat panel in place and scribe a cutline on the back at the height of the wall. Set the panel on a work surface, and use the circular saw to cut it to the proper height. You may want to cut your corner pieces to length first, then cut them to the proper height, as shown. Dry-fit the two pieces at the corner to check the fit.
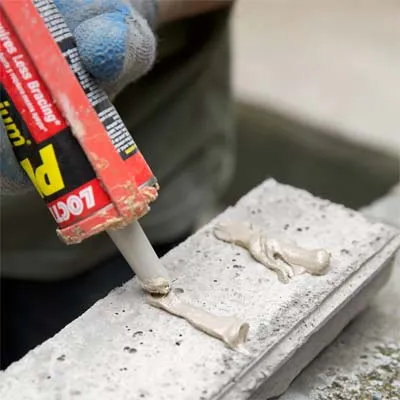
모서리 패널을 제거하고 그림과 같이 수직 방향으로 각 조각의 뒷면에 건축용 접착제의 직선형 비드를 도포하여 물이 패널 뒤로 자유롭게 흐르고 적절하게 배수되도록 합니다. 패널을 벽에 제자리에 놓고 모서리에 꼭 맞도록 조정하세요.
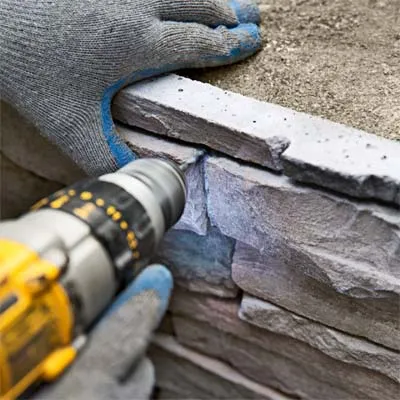
컷다운 패널을 더욱 안전하게 고정하려면 돌 사이의 연결 부분에 눈에 띄지 않게 패스너를 박을 수 있는 여러 지점을 각 패널에 배치하세요. 조각을 제자리에 고정하고 패널을 통해 벽에 파일럿 구멍을 뚫습니다. 석조 나사를 박아 패널 표면 아래로 머리를 가라앉히십시오. 나사 머리를 코크로 덮고 절단 테이블에서 약간의 먼지를 모아 건조 코크에 불어 위장합니다. 같은 방법으로 틈을 메울 수 있습니다. 마지막 코스에서 패널 설치를 완료합니다.
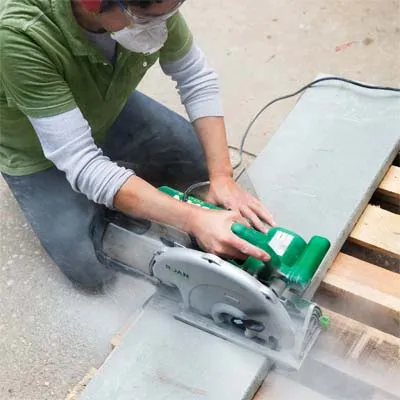
돌출부를 만들기 위해 클래드 벽의 깊이보다 몇 인치 더 넓은 관석을 선택합니다. 벽 상단에 맞게 캡스톤을 측정하고 표시합니다. 그림과 같이 원형톱과 분할된 다이아몬드 날을 사용하여 길이에 맞게 자릅니다.
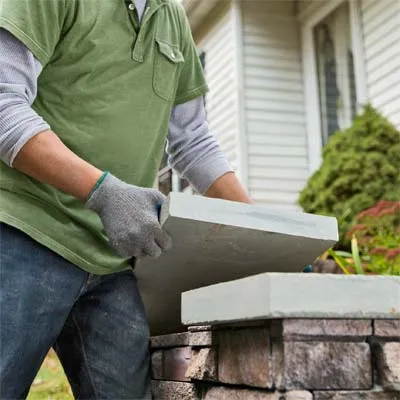
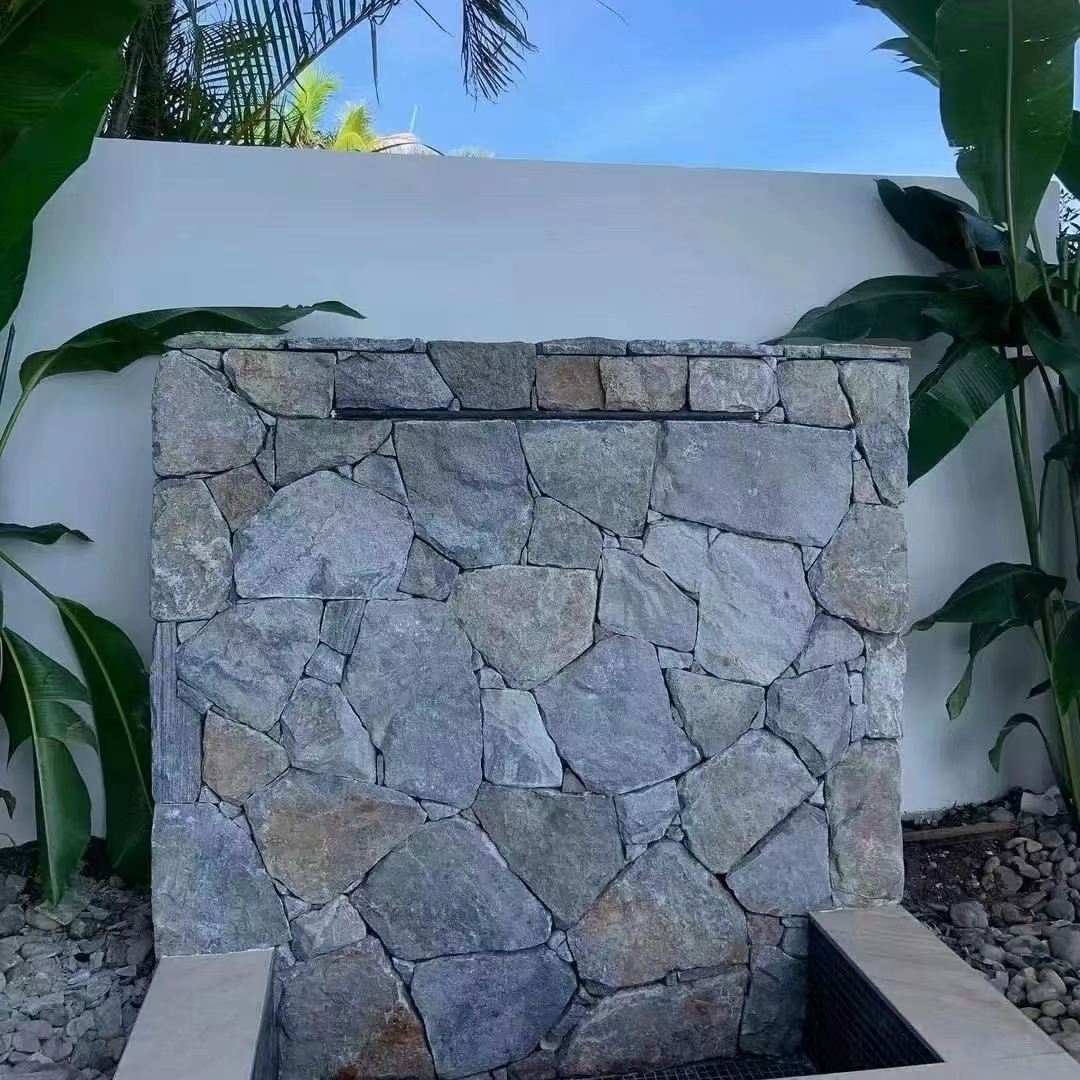
파트너와 함께 캡스톤을 들어 올려 벽 위에 건식으로 고정하세요. 돌을 다시 설치하기 전에 이를 제거하고 벽 상단과 베니어 가장자리에 건축용 접착제를 바르십시오. 또는 더욱 실제적인 모습을 선호한다면 단단한 모르타르 베드에 놓아보세요. 이제 한발 뒤로 물러나 매끄러운 모습에 감탄해보세요.
 아프리카 사람
 알바니아
 암하라어
 아라비아 말
 아르메니아 사람
 아제르바이잔
 바스크 사람
 벨로루시어
 벵골 사람
 보스니아어
 불가리아 사람
 카탈로니아 사람
 세부아노어
 중국
 중국(대만)
 코르시카어
 크로아티아어
 체코 사람
 덴마크 말
 네덜란드 사람
 영어
 에스페란토 말
 에스토니아 사람
 핀란드어
 프랑스 국민
 프리지아어
 갈리시아어
 그루지야 사람
 독일 사람
 그리스 어
 구자라트어
 아이티 크리올어
 하우사
 하와이 사람
 헤브라이 사람
 아니요
 먀오족
 헝가리 인
 아이슬란드어
 이보
 인도네시아 인
 아일랜드의
 이탈리아 사람
 일본어
 자바어
 칸나다어
 카자흐어
 크메르어
 르완다
 한국인
 쿠르드어
 키르기스어
 결핵
 라틴어
 라트비아 사람
 리투아니아 사람
 룩셈부르크어
 마케도니아 어
 말가시
 말레이 사람
 말라얄람어
 몰티즈
 마오리족
 마라티어
 몽고 어
 미얀마
 네팔어
 노르웨이 인
 노르웨이 인
 옥시탄
 파슈토어
 페르시아 인
 광택
 포르투갈 인
 펀자브어
 루마니아 사람
 러시아인
 사모아어
 스코틀랜드 게일어
 세르비아 사람
 영어
 쇼나
 신디어
 신할라어
 슬로바키아 사람
 슬로베니아
 소말리아어
 스페인의
 순다어
 스와힐리어
 스웨덴어
 타갈로그어
 타직어
 타밀 사람
 타타르어
 텔루구어
 태국어
 터키어
 투르크멘 말
 우크라이나 인
 우르두어
 위구르어
 우즈벡어
 베트남어
 웨일스 말