समयरेखा:
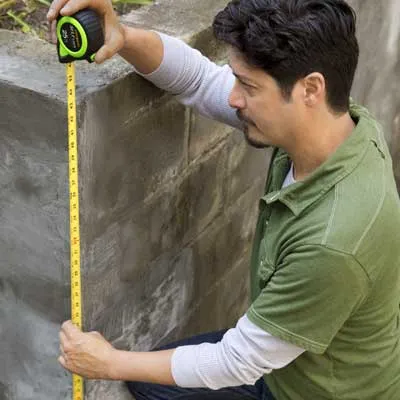
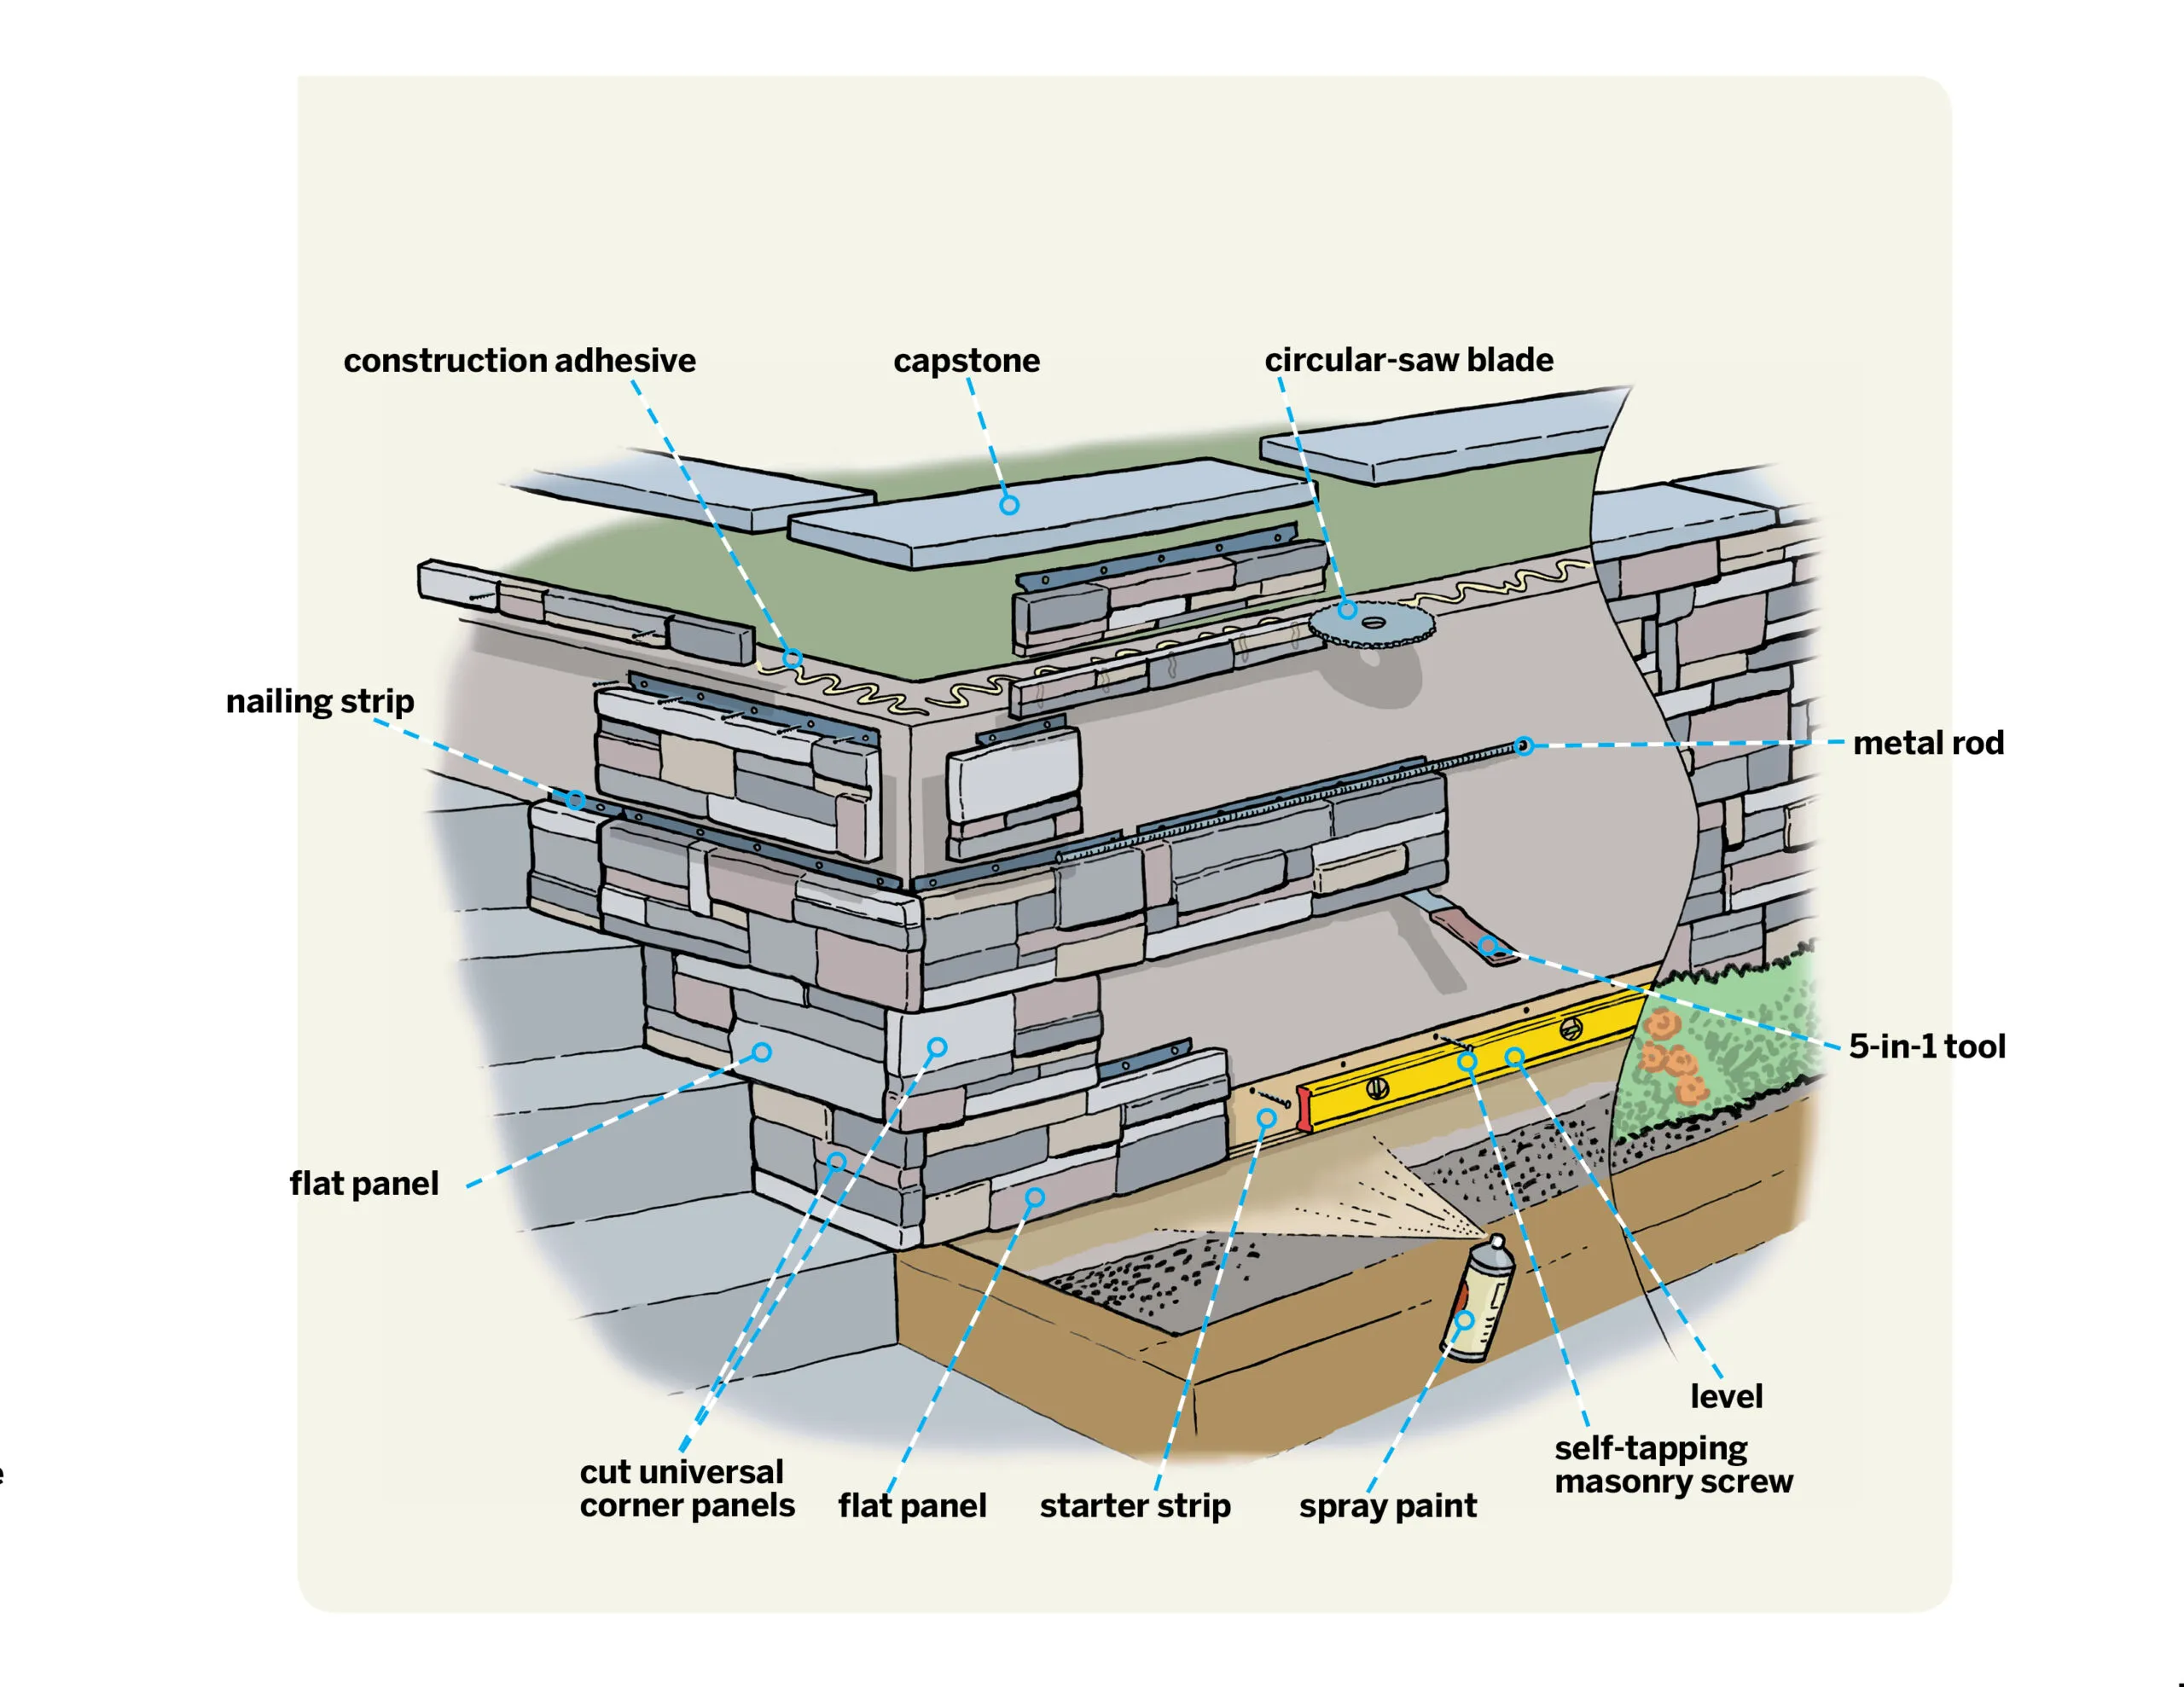
To calculate the number of universal corners to order, measure the height in inches of each outside wall corner, as shown, divide by 16, and round up to the nearest whole number. You’ll fill the area between the corners with flat panels. To calculate how many you’ll need, multiply the wall’s width by its height in feet and divide the resulting area by 2 (each panel covers 2 square feet). Subtract the number of universal corners from the result, then add 10 percent to your order of flat panels. Add one universal corner to be safe.
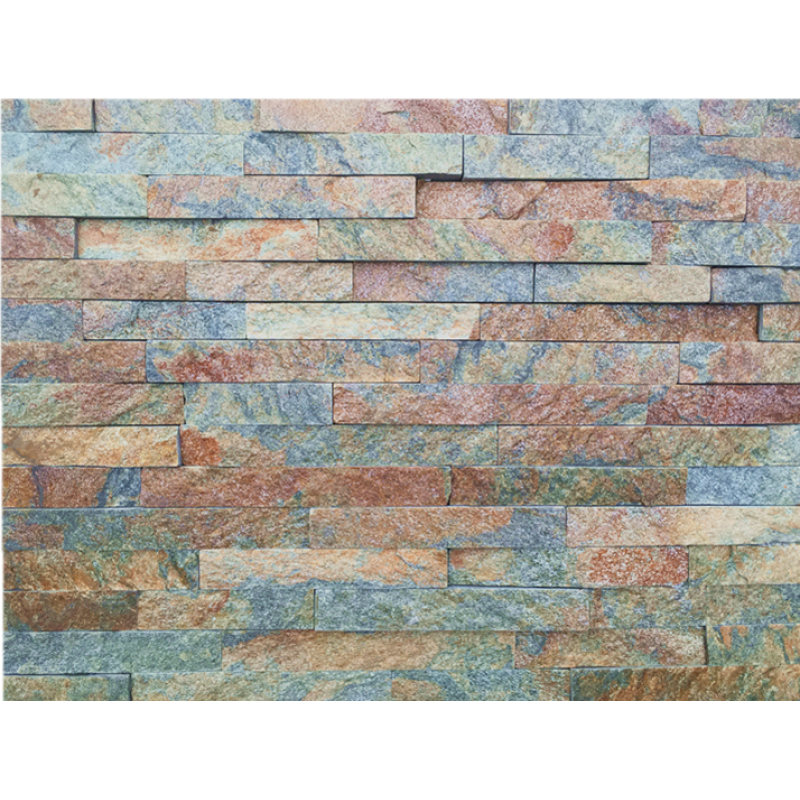
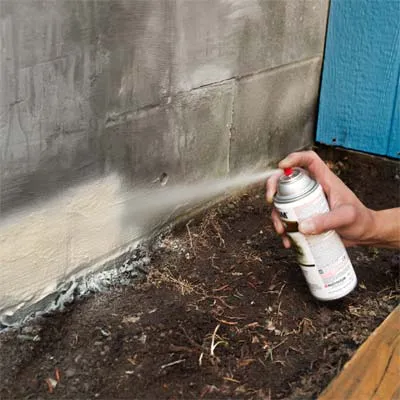
The panels must be installed above ground level, resting on a plastic support called a starter strip, so you’ll want to paint the wall below the strip to match the stone. Find a spray-paint color similar to the palette of your stone panels and paint the bottom few inches of the wall.
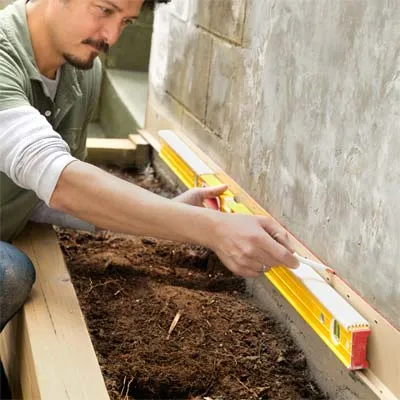
Set the location for the starter strip, at least 2 inches above any soil. Here, the strip’s lip aligns with the top of a stair on the adjacent side of the corner. Fit your drill/driver with a 3/16-inch masonry bit and drill a pilot hole through a slot in the strip near the corner and into the wall. Drive in a masonry screw to secure that end, then use the 4-foot level to bring the strip to level, and mark a line, as shown. Drill pilot holes and fasten the strip in two or three more spots, maintaining level.
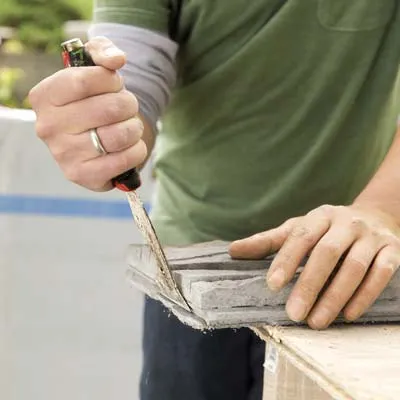
फ्लैट पैनल में प्रत्येक तरफ एक टैब होता है जो आसन्न फ्लैट पैनल पर स्लॉट के साथ जुड़ता है, लेकिन किसी भी छोर से इसे हटाने की आवश्यकता होती है जो एक कोने का निर्माण करता है। पैनल को काम की सतह पर रखें और टैब को हटाने के लिए 5-इन-1 टूल के ब्लेड का उपयोग करें, जैसा कि दिखाया गया है। परिणामस्वरूप सपाट किनारा एक तंग कोने के लिए बना देगा।
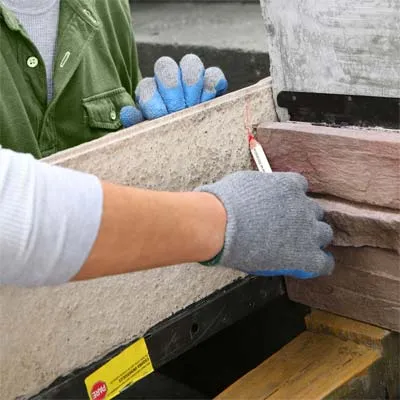
प्रत्येक रन एक कोने से शुरू होता है, जिसमें यूनिवर्सल कॉर्नर का तैयार अंत एक फ्लैट पैनल के अंत को ओवरलैप करता है (टैब को हटाकर)। सबसे पहले, यूनिवर्सल कॉर्नर को दो टुकड़ों में काटा जाता है; प्रत्येक टुकड़े का तैयार किनारा एक कोर्स शुरू करता है, और कटा हुआ किनारा एक फ्लैट पैनल में जुड़ता है। सौंदर्यशास्त्र के लिए, यूनिवर्सल कॉर्नर को इस तरह से काटें कि प्रत्येक टुकड़ा कम से कम 8 इंच लंबा हो। या, जैसा कि हमारे मामले में है, इसे सीढ़ी राइजर के खिलाफ फिट करने के लिए काटें: स्टार्टर स्ट्रिप में बगल की तरफ एक फ्लैट पैनल रखें, फिर यूनिवर्सल कॉर्नर को उल्टा घुमाएं, इसके तैयार किनारे को सीढ़ी राइजर के खिलाफ जोड़ें, और एक कटलाइन बनाएं, जैसा कि दिखाया गया है।
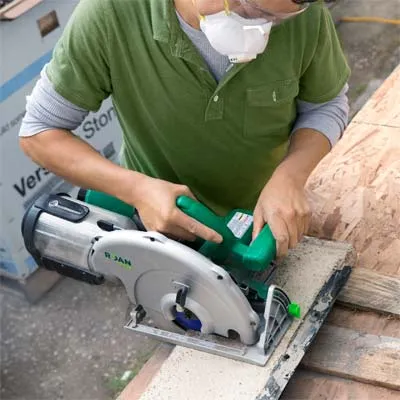
चिह्नित पैनल को कटलाइन के दोनों ओर स्क्रैप बोर्ड के साथ काम की सतह पर नीचे की ओर रखें। स्क्राइब की गई रेखा के सबसे संकीर्ण बिंदु के साथ एक चौकोर कटलाइन को चिह्नित करने के लिए एक स्ट्रेटएज का उपयोग करें। एक खंडित हीरे के ब्लेड के साथ परिपत्र आरी को फिट करें और कंक्रीट के साथ-साथ धातु की कील पट्टी से गुजरते हुए रेखा के साथ काटें। सुरक्षा चश्मा, धूल मास्क और सुनने की सुरक्षा पहनना सुनिश्चित करें।
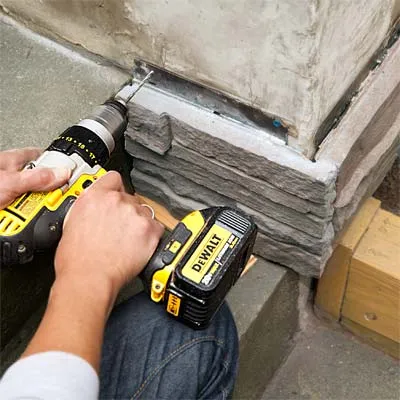
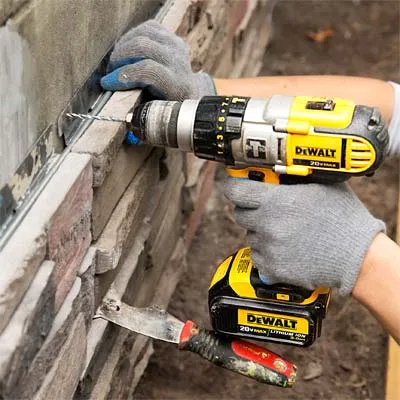
Hold the cut universal corner against the wall, bringing its finished end flush with the face of the adjacent flat panel so that the two pieces form a 90° outside corner. Level the universal corner, and drill pilot holes through the nailing strip, as shown, directly through the metal if necessary, in at least two places. Fasten the panel with 1¼-inch self-tapping masonry screws.
बख्शीश: जब आप ड्रिल को पायलट छेद से बाहर निकालें तो धूल हटाने के लिए बिट को घुमाते रहें, जिससे चिनाई वाला पेंच कंक्रीट में घुस सके।
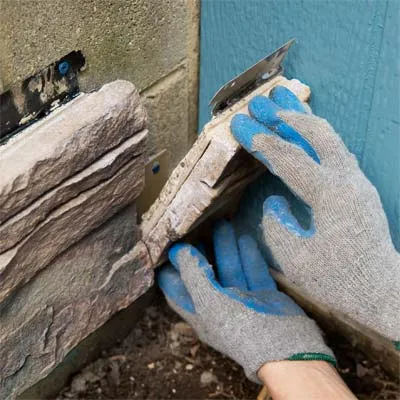
पूरे आकार के फ्लैट पैनल लगाना जारी रखें, कोर्स के नीचे की ओर बढ़ते रहें। जब आप अंत के करीब पहुँच जाएँ, तो कोर्स के अंत को भरने के लिए एक आंशिक पैनल को मापें और काटें। अगर कटे हुए टुकड़े के दोनों तरफ टैब है, तो उसे हटाने के लिए 5-इन-1 टूल का इस्तेमाल करें। टुकड़े को जगह पर फिट करें, पायलट छेद ड्रिल करें और इसे दीवार पर पेंच से लगाएँ।

Use the cut half of the universal corner from the first course, positioned on the opposite side of the corner to stagger the joints. Slip the tongue on its bottom edge into the groove on top of the flat panel beneath. Position a flat panel, with its tab removed, atop the universal corner in the first course. Be sure it’s cut to a different length than the piece beneath, to offset the joints across the wall. Mark and drill pilot holes for the universal corner, secure it, and install the adjacent flat panel to complete the corner.
Work along the course, brushing out debris from the top groove to ensure that the panels fit together snugly. As you set each new panel, make sure that it’s aligned with the previous panel by nestling a ¼-inch metal rod in the groove along the top edge. The rod should lie flat and bridge the grooves in adjacent panels. If it doesn’t, use the 5-in-1 tool to shim the panel up, or back several screws out of the previous panel and adjust it. When the panels align, drill pilot holes and fasten them to the wall.

If the end of a panel falls in line with a joint on any of the previous courses, you’ll want to cut down its length slightly to maintain staggered joints. Hold the panel in place and mark the nailing strip at a different length. Transfer the mark to the back of the panel, cut it to size, and fasten it to the wall.
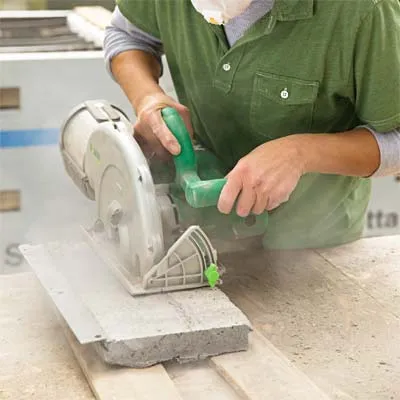
On the final course, you’ll need to cut down the height of the panels to fit, removing the nailing strip so that the stone reaches to the top of the wall. Rest a flat panel in place and scribe a cutline on the back at the height of the wall. Set the panel on a work surface, and use the circular saw to cut it to the proper height. You may want to cut your corner pieces to length first, then cut them to the proper height, as shown. Dry-fit the two pieces at the corner to check the fit.
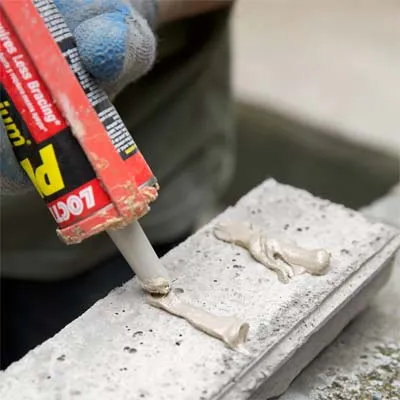
कोने के पैनल हटाएँ और प्रत्येक टुकड़े के पीछे निर्माण चिपकने वाले पदार्थ की सीधी बूँदें ऊर्ध्वाधर रूप से लगाएँ, जैसा कि दिखाया गया है, ताकि पानी पैनलों के पीछे से आसानी से बह सके और ठीक से निकल सके। पैनलों को दीवार पर जगह पर सेट करें और उन्हें कोने पर अच्छी तरह से फिट करने के लिए समायोजित करें।
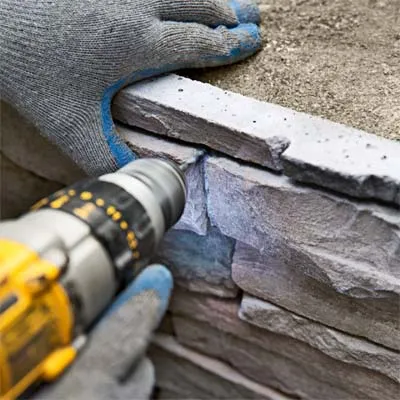
कटे हुए पैनलों को और अधिक सुरक्षित करने के लिए, प्रत्येक पर कई स्थानों का पता लगाएँ जहाँ आप पत्थरों के बीच जोड़ों में एक फास्टनर को अगोचर रूप से दबा सकते हैं। टुकड़े को जगह पर रखते हुए, पैनल के माध्यम से और दीवार में एक पायलट छेद ड्रिल करें। एक चिनाई पेंच में ड्राइव करें, पैनल की सतह के नीचे सिर को डुबोएं। स्क्रूहेड्स को कौल्क से ढकें, कटिंग टेबल से कुछ धूल इकट्ठा करें, और इसे छिपाने के लिए सूखने वाले कौल्क पर उड़ा दें। आप उसी तरीके से किसी भी गैप को छू सकते हैं। अंतिम कोर्स में पैनलों को स्थापित करना समाप्त करें।
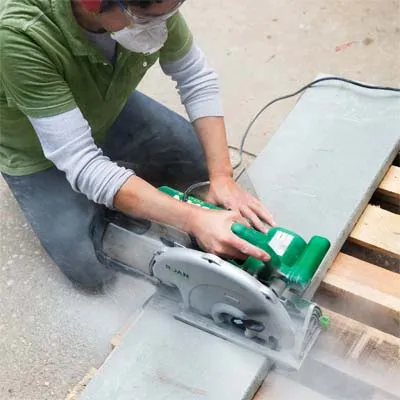
ओवरहैंग बनाने के लिए अपनी क्लैड दीवार की गहराई से कई इंच चौड़ा कैपस्टोन चुनें। दीवार के शीर्ष पर फिट होने के लिए कैपस्टोन को मापें और चिह्नित करें। दिखाए गए अनुसार लंबाई में काटने के लिए गोलाकार आरी और खंडित हीरे के ब्लेड का उपयोग करें।
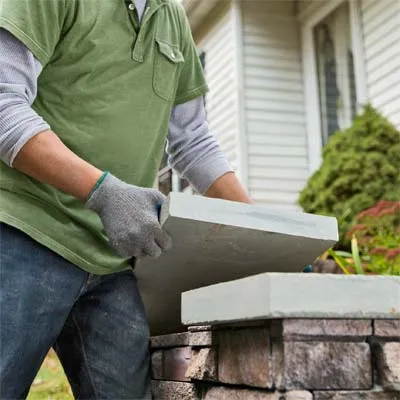
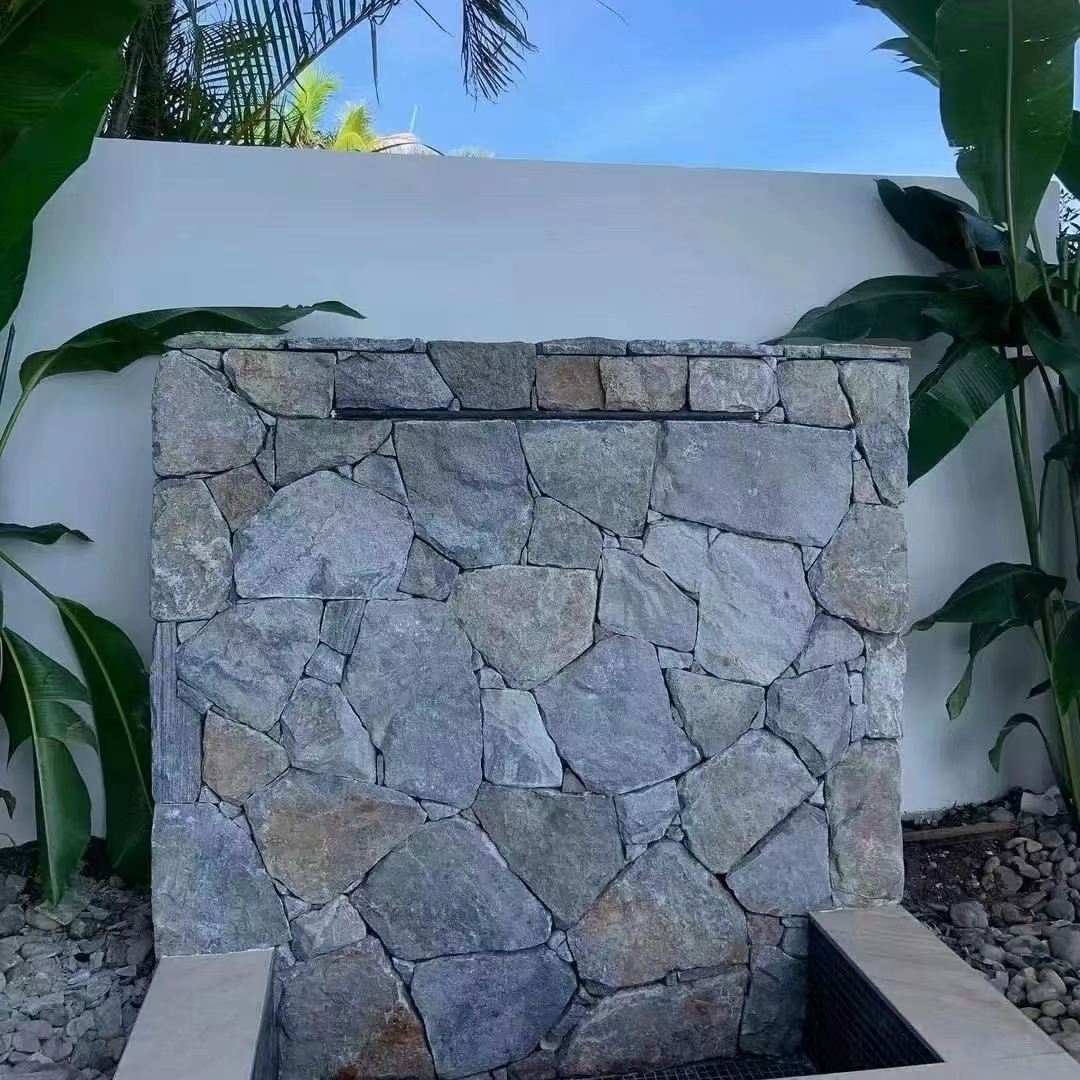
किसी साथी के साथ मिलकर, कैपस्टोन को उठाएँ और उन्हें दीवार के ऊपर सुखाकर फिट करें। उन्हें हटाएँ और पत्थरों को फिर से लगाने से पहले दीवार के ऊपर और विनियर के किनारों पर कंस्ट्रक्शन एडहेसिव लगाएँ; या, अगर आप और भी ज़्यादा प्रामाणिक लुक चाहते हैं, तो उन्हें एक सख्त मोर्टार बेड में सेट करें। अब एक कदम पीछे हटें और निर्बाध लुक पर अचंभित हों।
 अफ़्रीकी
 अल्बानियन
 अम्हारिक्
 अरबी
 अर्मेनियाई
 आज़रबाइजानी
 बस्क
 बेलारूसी
 बंगाली
 बोस्नियाई
 बल्गेरियाई
 कातालान
 सिबुआनो
 चीन
 चीन (ताइवान)
 कॉर्सिकन
 क्रोएशियाई
 चेक
 दानिश
 डच
 अंग्रेज़ी
 एस्पेरांतो
 एस्तोनियावासी
 फिनिश
 फ़्रेंच
 फ़्रिसियाई
 गैलिशियन्
 जॉर्जीयन्
 जर्मन
 यूनानी
 गुजराती
 हाईटियन क्रियोल
 होउसा
 हवाई
 यहूदी
 नहीं
 मियाओ
 हंगेरी
 आइसलैंड का
 ईग्बो
 इन्डोनेशियाई
 आयरिश
 इतालवी
 जापानी
 जावानीस
 कन्नडा
 कजाख
 खमेर
 रवांडा
 कोरियाई
 कुर्द
 किरगिज़
 टीबी
 लैटिन
 लात्वीयावासी
 लिथुआनियाई
 लक्जमबर्गिश
 मेसीडोनियन
 मालगाशी
 मलायी
 मलयालम
 मोलतिज़
 माओरी
 मराठी
 मंगोलियन
 म्यांमार
 नेपाली
 नार्वेजियन
 नार्वेजियन
 ओसीटान
 पश्तो
 फ़ारसी
 पोलिश
 पुर्तगाली
 पंजाबी
 रोमानियाई
 रूसी
 सामोन
 स्कॉटिश गेलिक
 सर्बियाई
 अंग्रेज़ी
 सोणा
 सिंधी
 Sinhala
 स्लोवाक
 स्लोवेनियाई
 सोमाली
 स्पैनिश
 सुंडानी
 swahili
 स्वीडिश
 तागालोग
 ताजिक
 तामिल
 टाटर
 तेलुगू
 थाई
 तुर्की
 तुक्रमेन
 यूक्रेनी
 उर्दू
 उइघुर
 उज़बेक
 वियतनामी
 वेल्श